Dive Through the Layers
I’ve been working with a container image for a Django application and was surprised to find that an image for a simple application was 1.2 GB. This was particularly jarring as, coming from the world of Go, I’m used to images that come in at under 20 MB.
It’s not the size of the container image that’s the problem. Layer caching and re-use means that you are rarely transferring the full image around and that storage on disk is usually less than the sum of all your images. The worry I have with an image that is 1.2 GB is that everything that makes up that image needs to be maintained, patched, watched for security vulnerabilities, etc. 1.2 GB is a lot of software.
So, given an image, particularly one you didn’t build yourself, how do you navigate the layers? How do you see what went into making the image? For that, Dive has you covered.
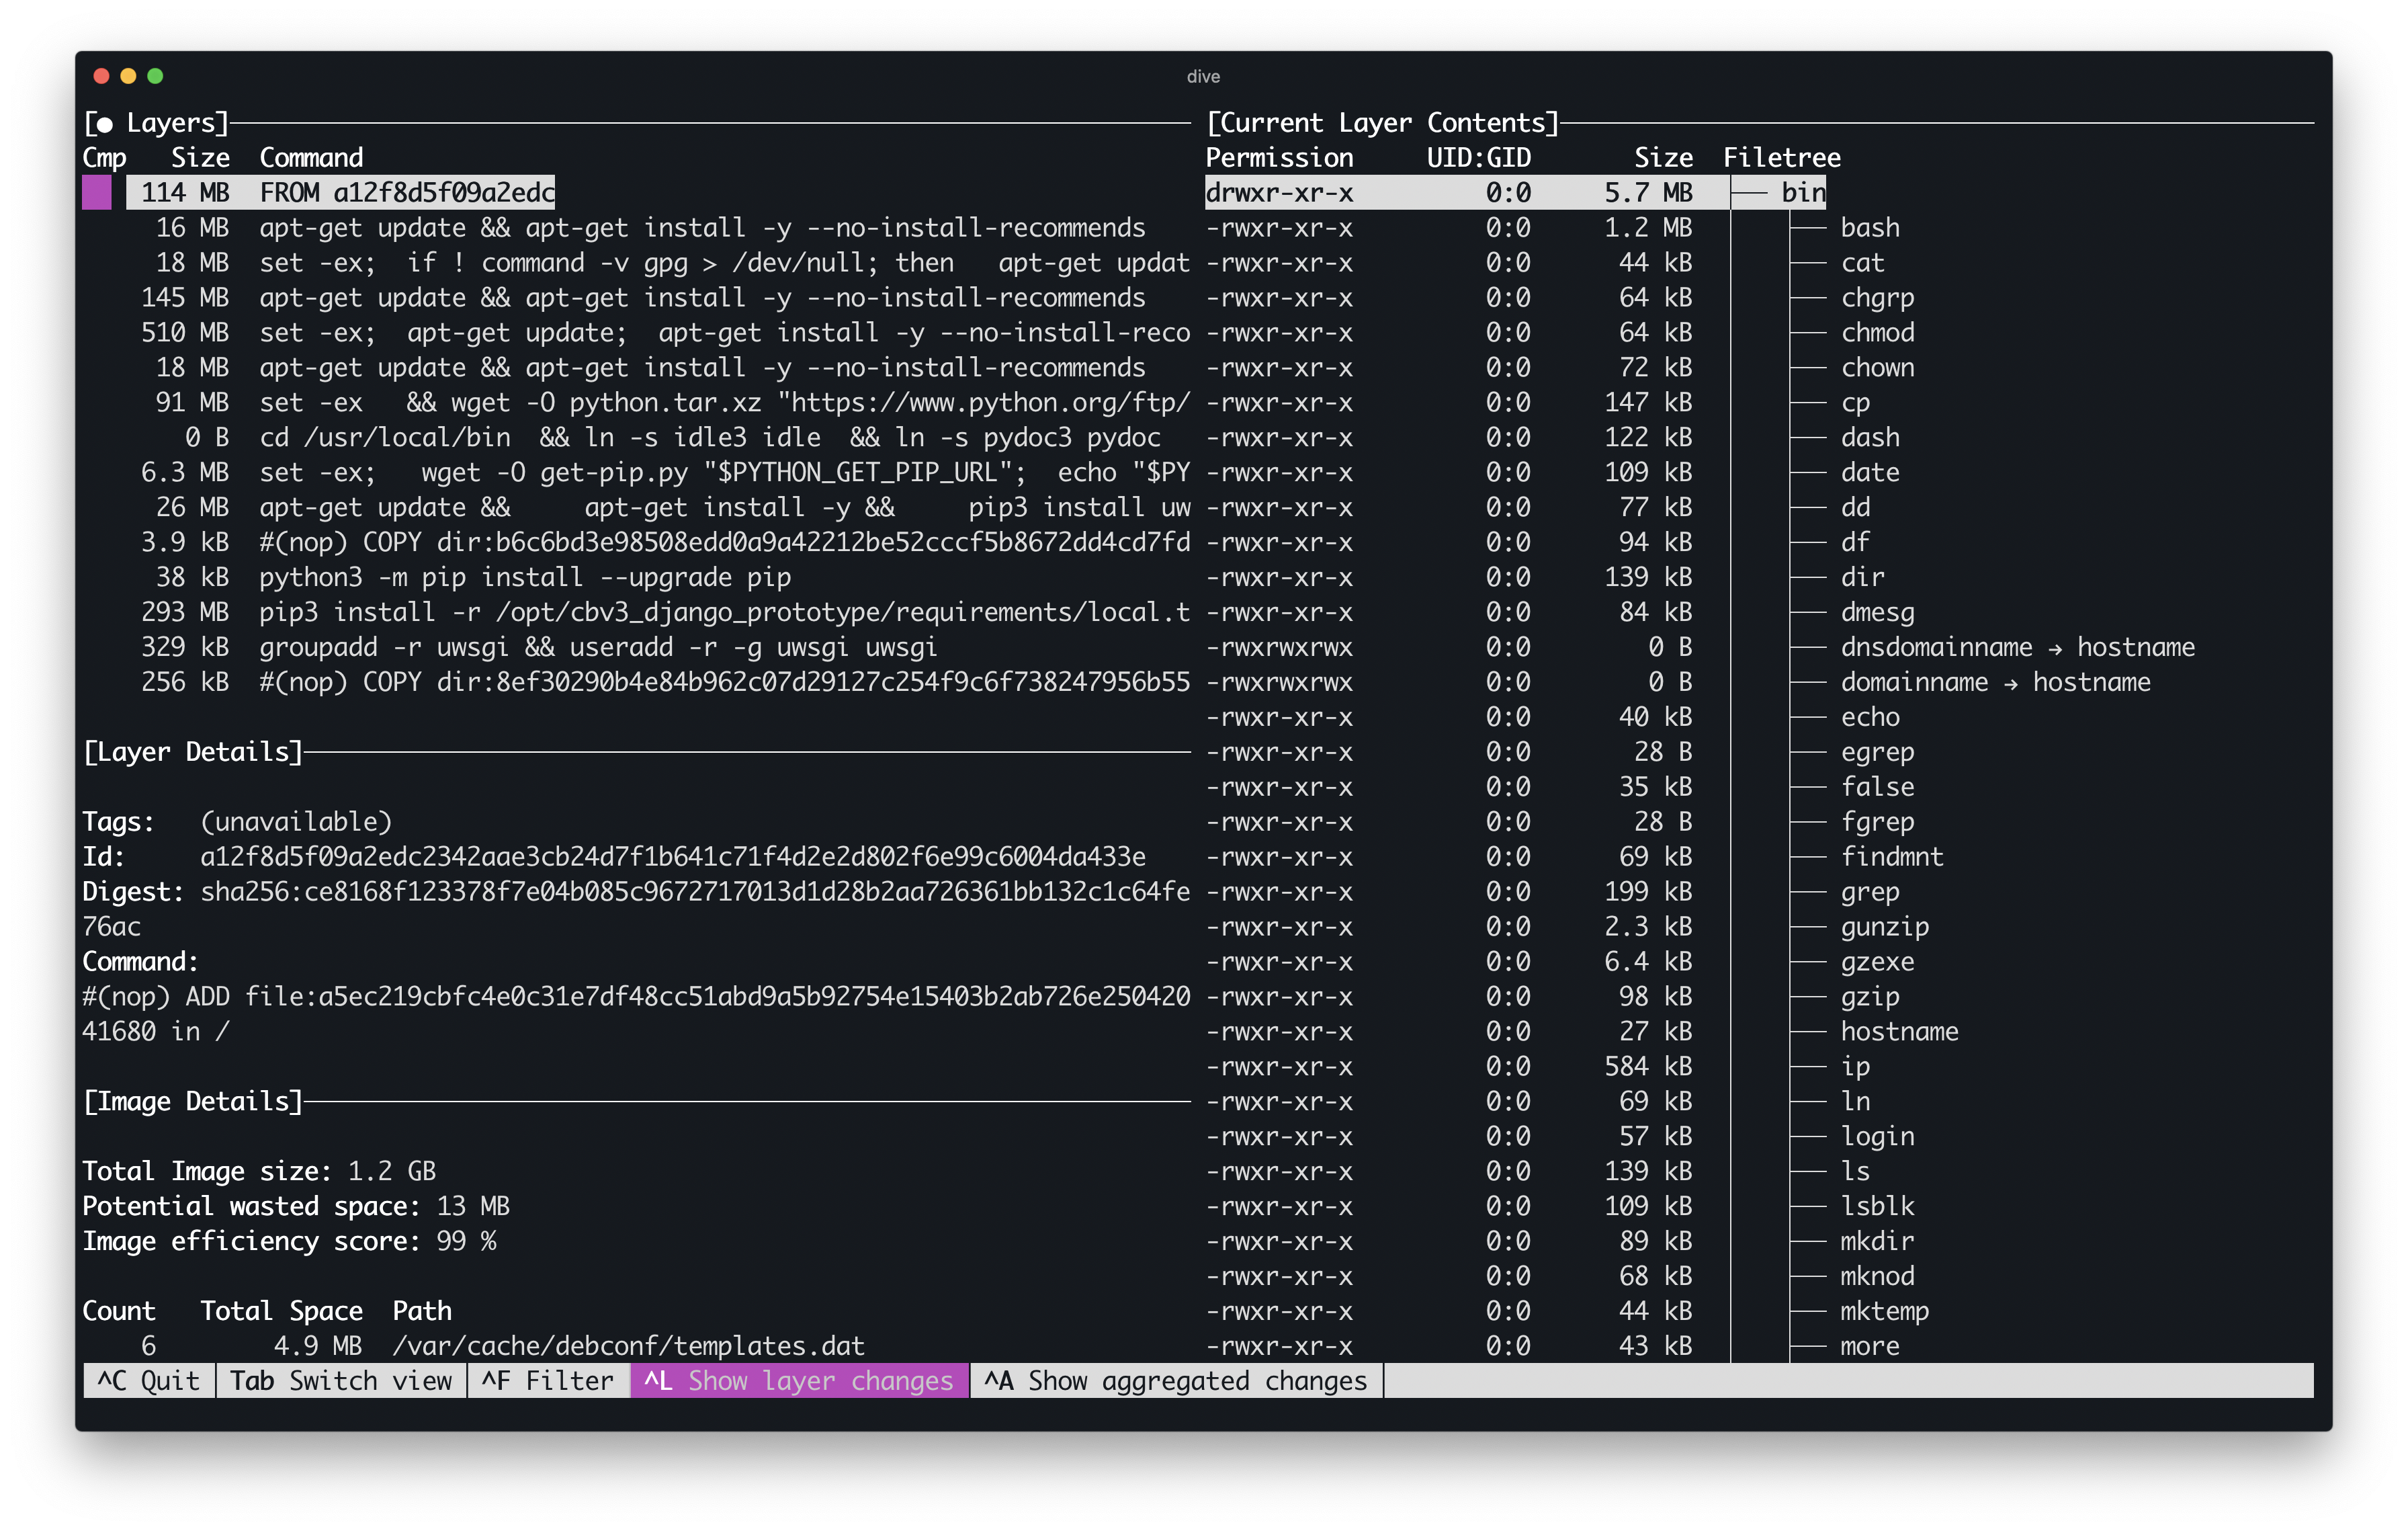
The dive interface
When you first open Dive you’ll see a screen similar to the one shown above. On the top left you have a list of layers. You can navigate the list with the up/down arrow keys. Layers are sorted in reverse order. The base layer is at the top of the list, with the most recent layer at the bottom. As you navigate through the layers, layer details for the currently selected layer are shown on the bottom left of the screen.
Detailed layer information
Here we can see the command that went into building a particular layer along with an estimate of the wasted space due to files that are duplicated across layers.
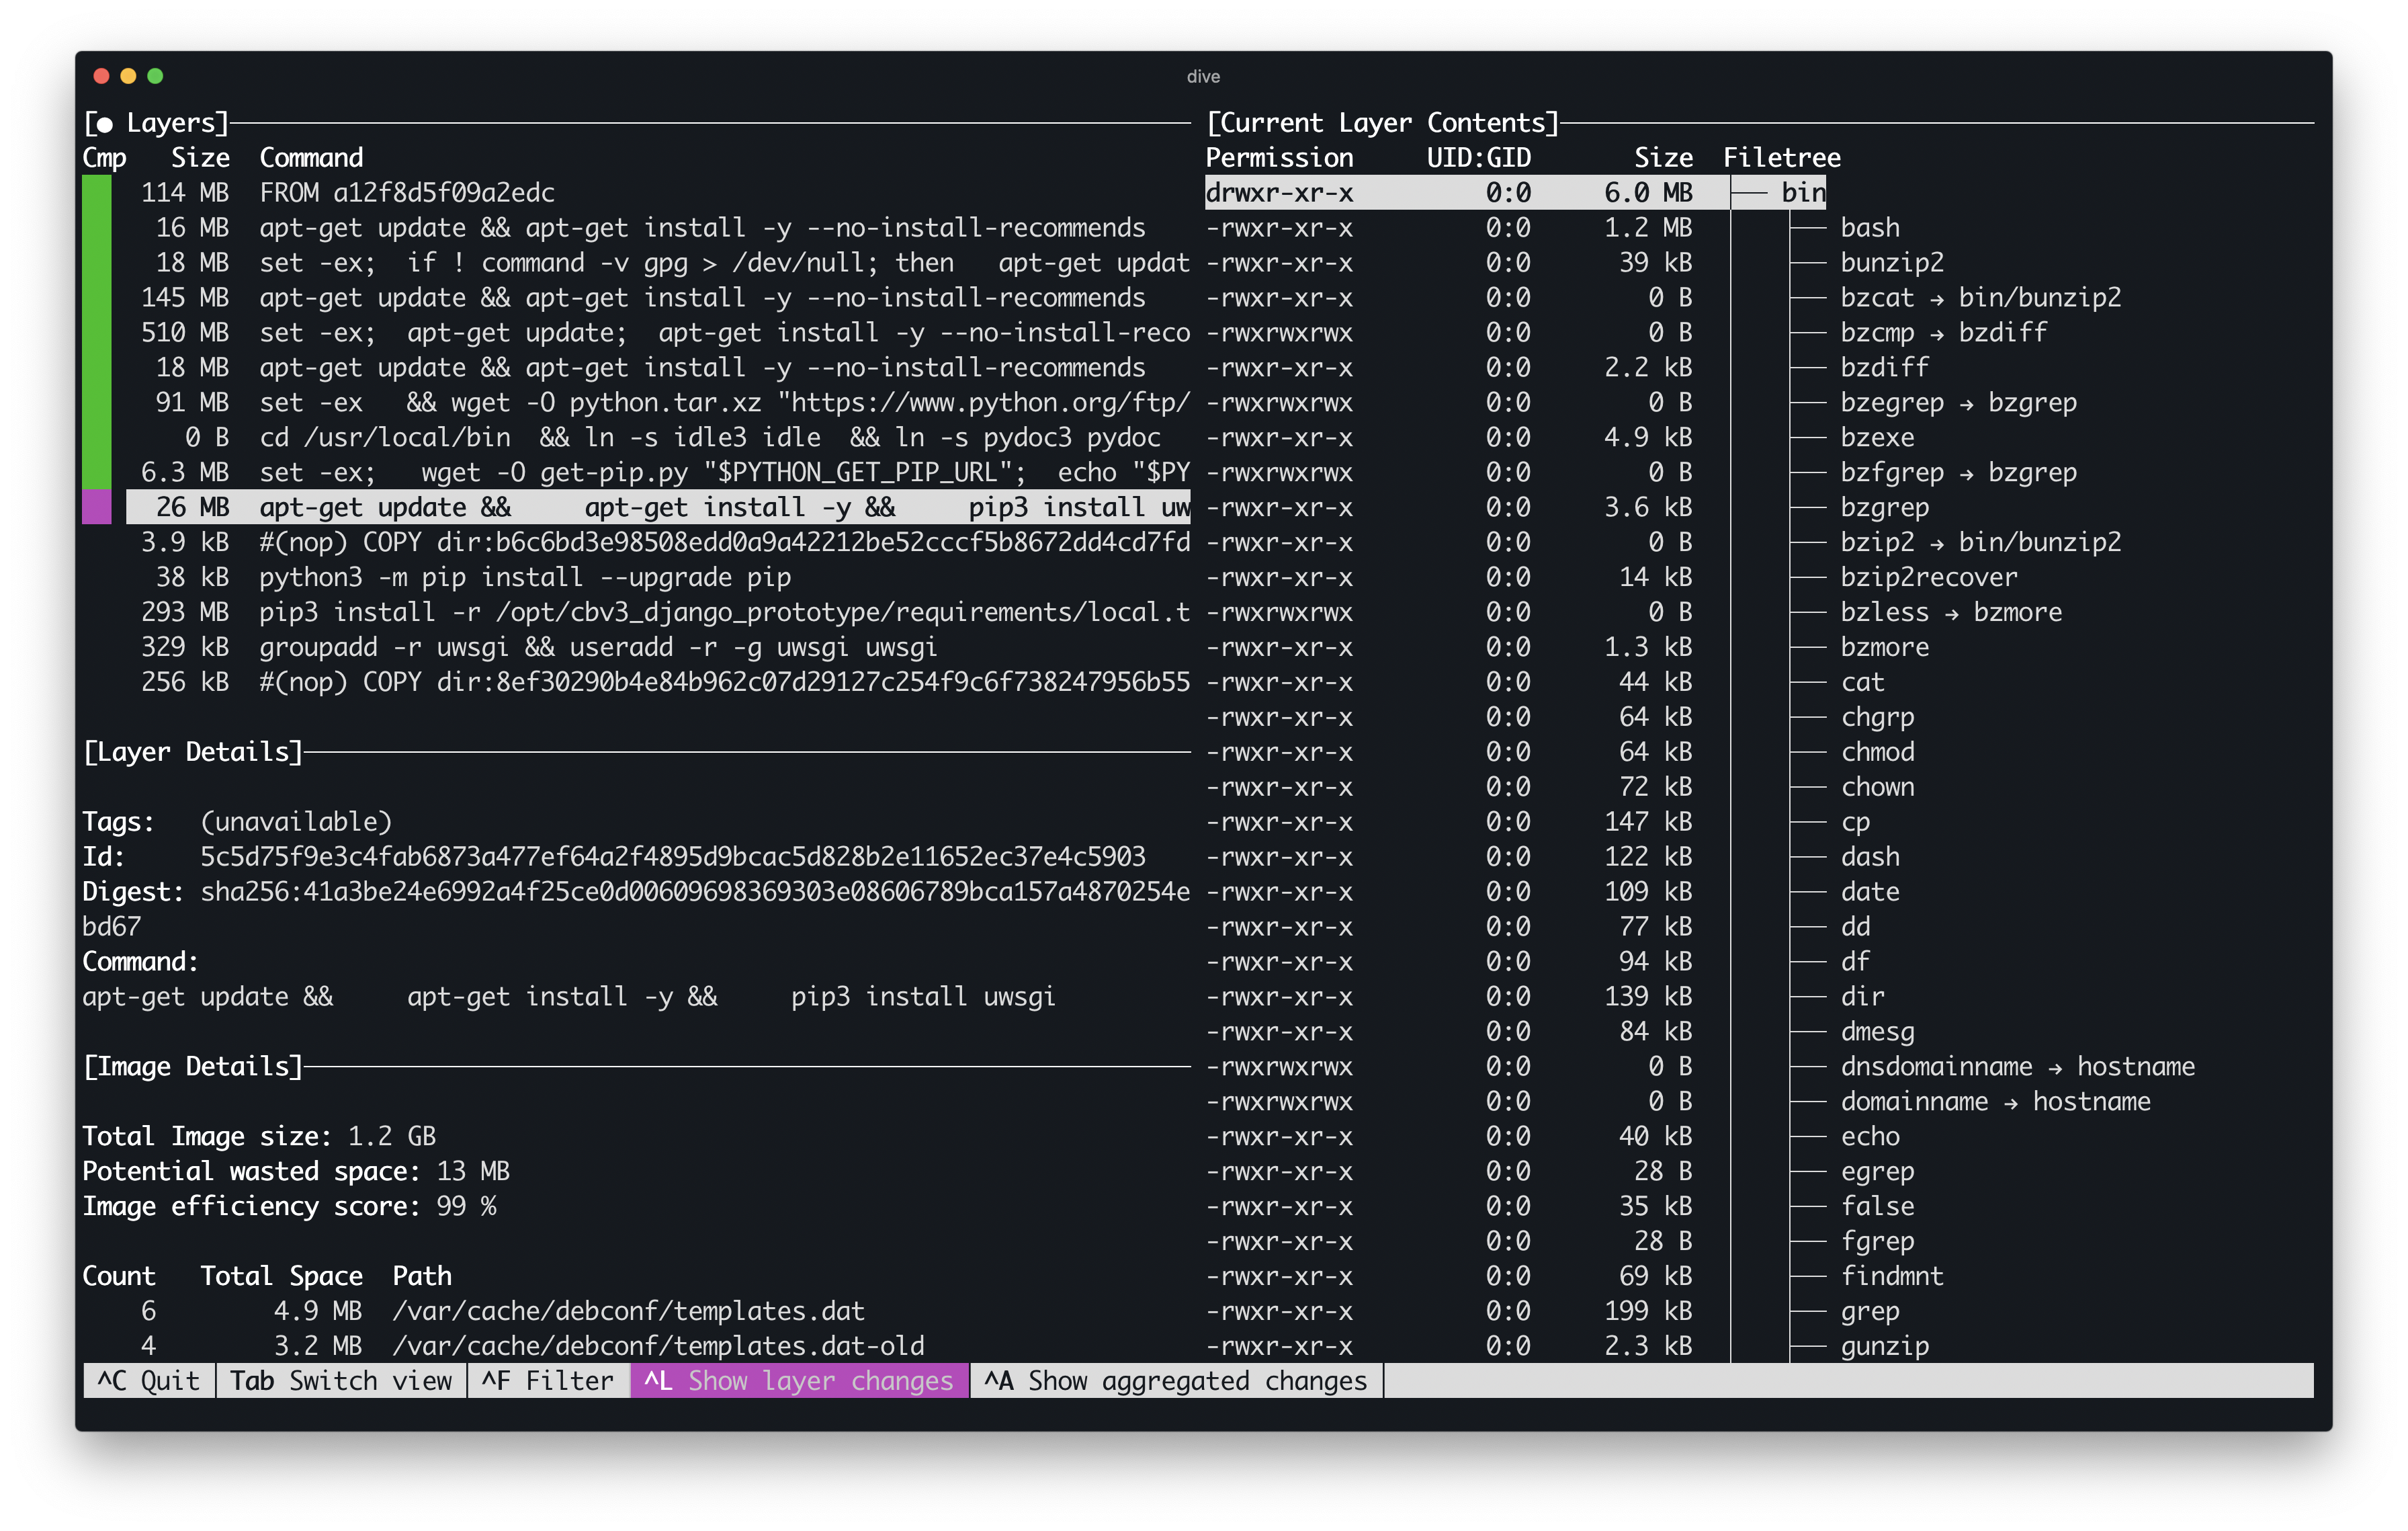
The right of the screen allows you to navigate the file system at a particular layer. You can configure this view to show only files that have been added, removed or modified. You can view these as an aggregate of all layers up to this one, or just this particular layer.
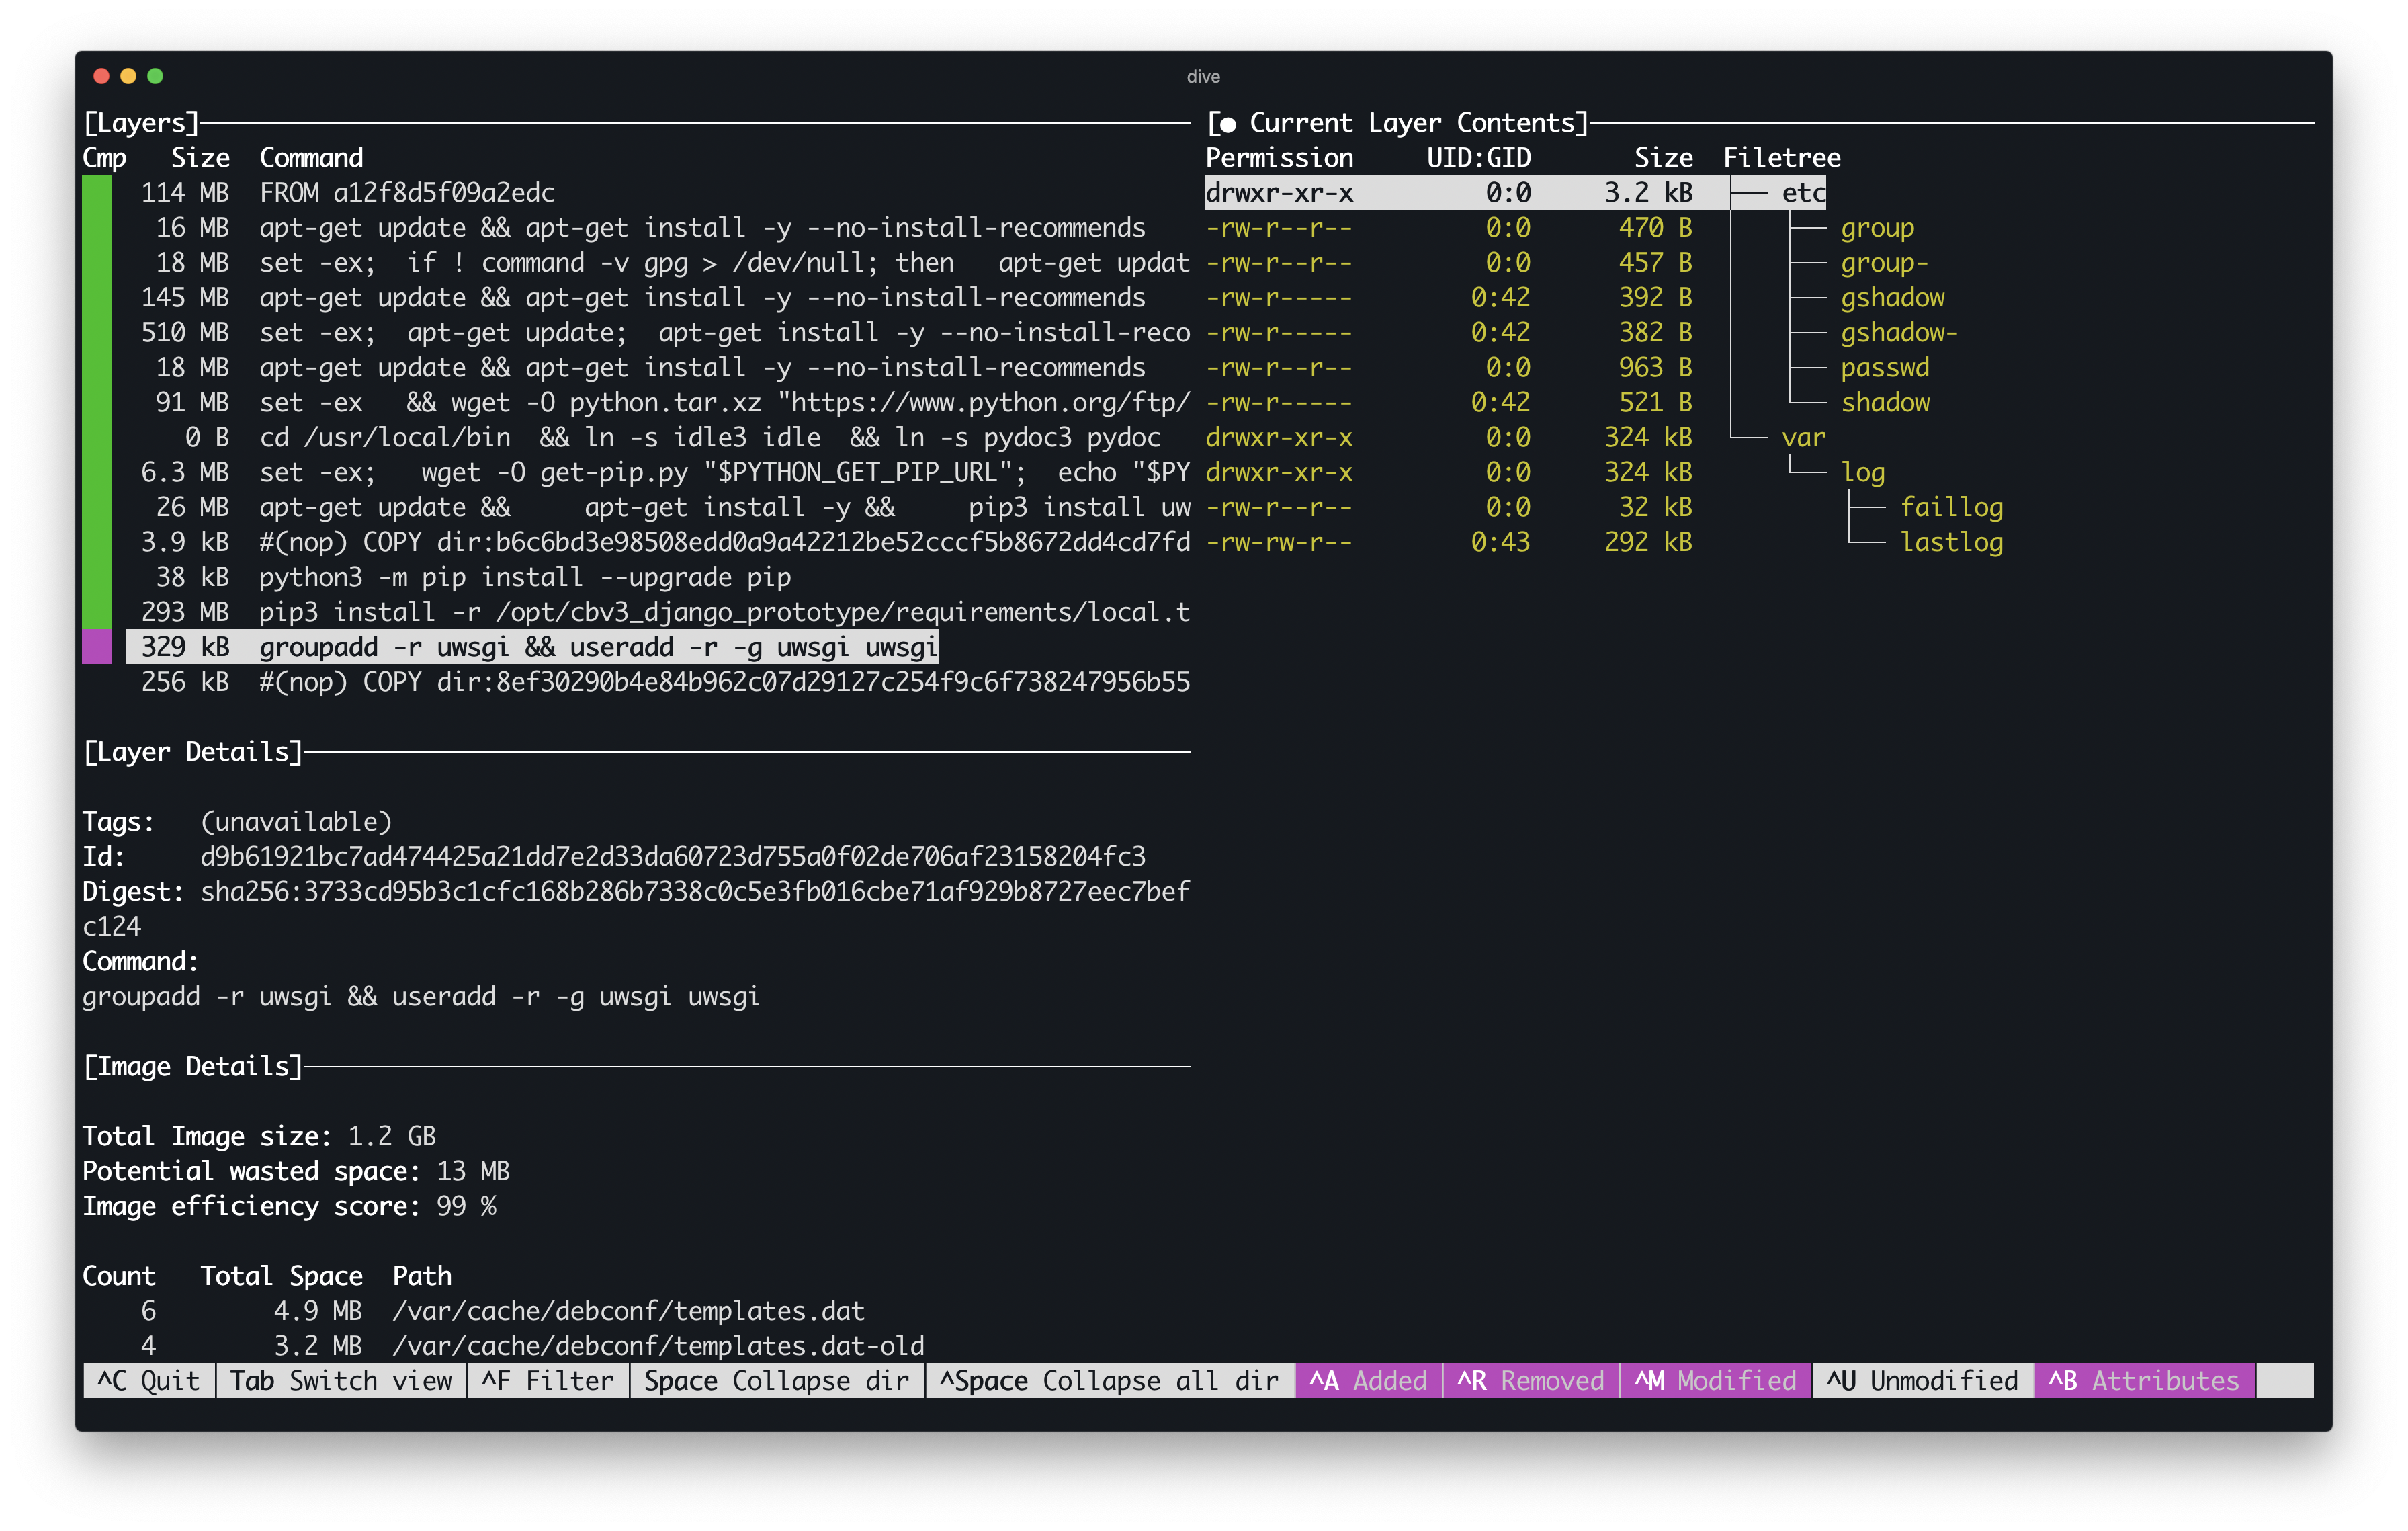
Files modified in a particular layer
In this example we can see that the selected layer was built by adding the uwsgi user and group.
groupadd -r uwsgi && useradd -r -g uwsgi uwsgi
On the right we can see exactly which files were modified as a result of this command.
Filetree
├── etc
│    ├── group
│    ├── group-
│    ├── gshadow
│    ├── gshadow-
│    ├── passwd
│    └── shadow
└── var
      └── log
            ├── faillog
            └── lastlog
This is a small layer, and I’ve chosen it to illustrate how Dive can be used to explore how layers are built, and where some of this waste comes from. Looking at this layer, I have one question: Why does adding a user and a group end up modifying 8 files?
Two of these are log files, these get updated because adding a user or a group is something that gets logged for security reasons. It is worth considering whether we want to persist these logs in our final image. Of interest though are those files followed by a dash: group-, and gshadow-. These are backup files, previous versions of the group, and gshadow files respectively. There is no need for these to be persisted across layers. We can potentially save ourselves a few kilobytes by removing them.
A few kilobytes may not be significant, but a look at some of the larger layers reveals a number of things that I’d want to explore further.
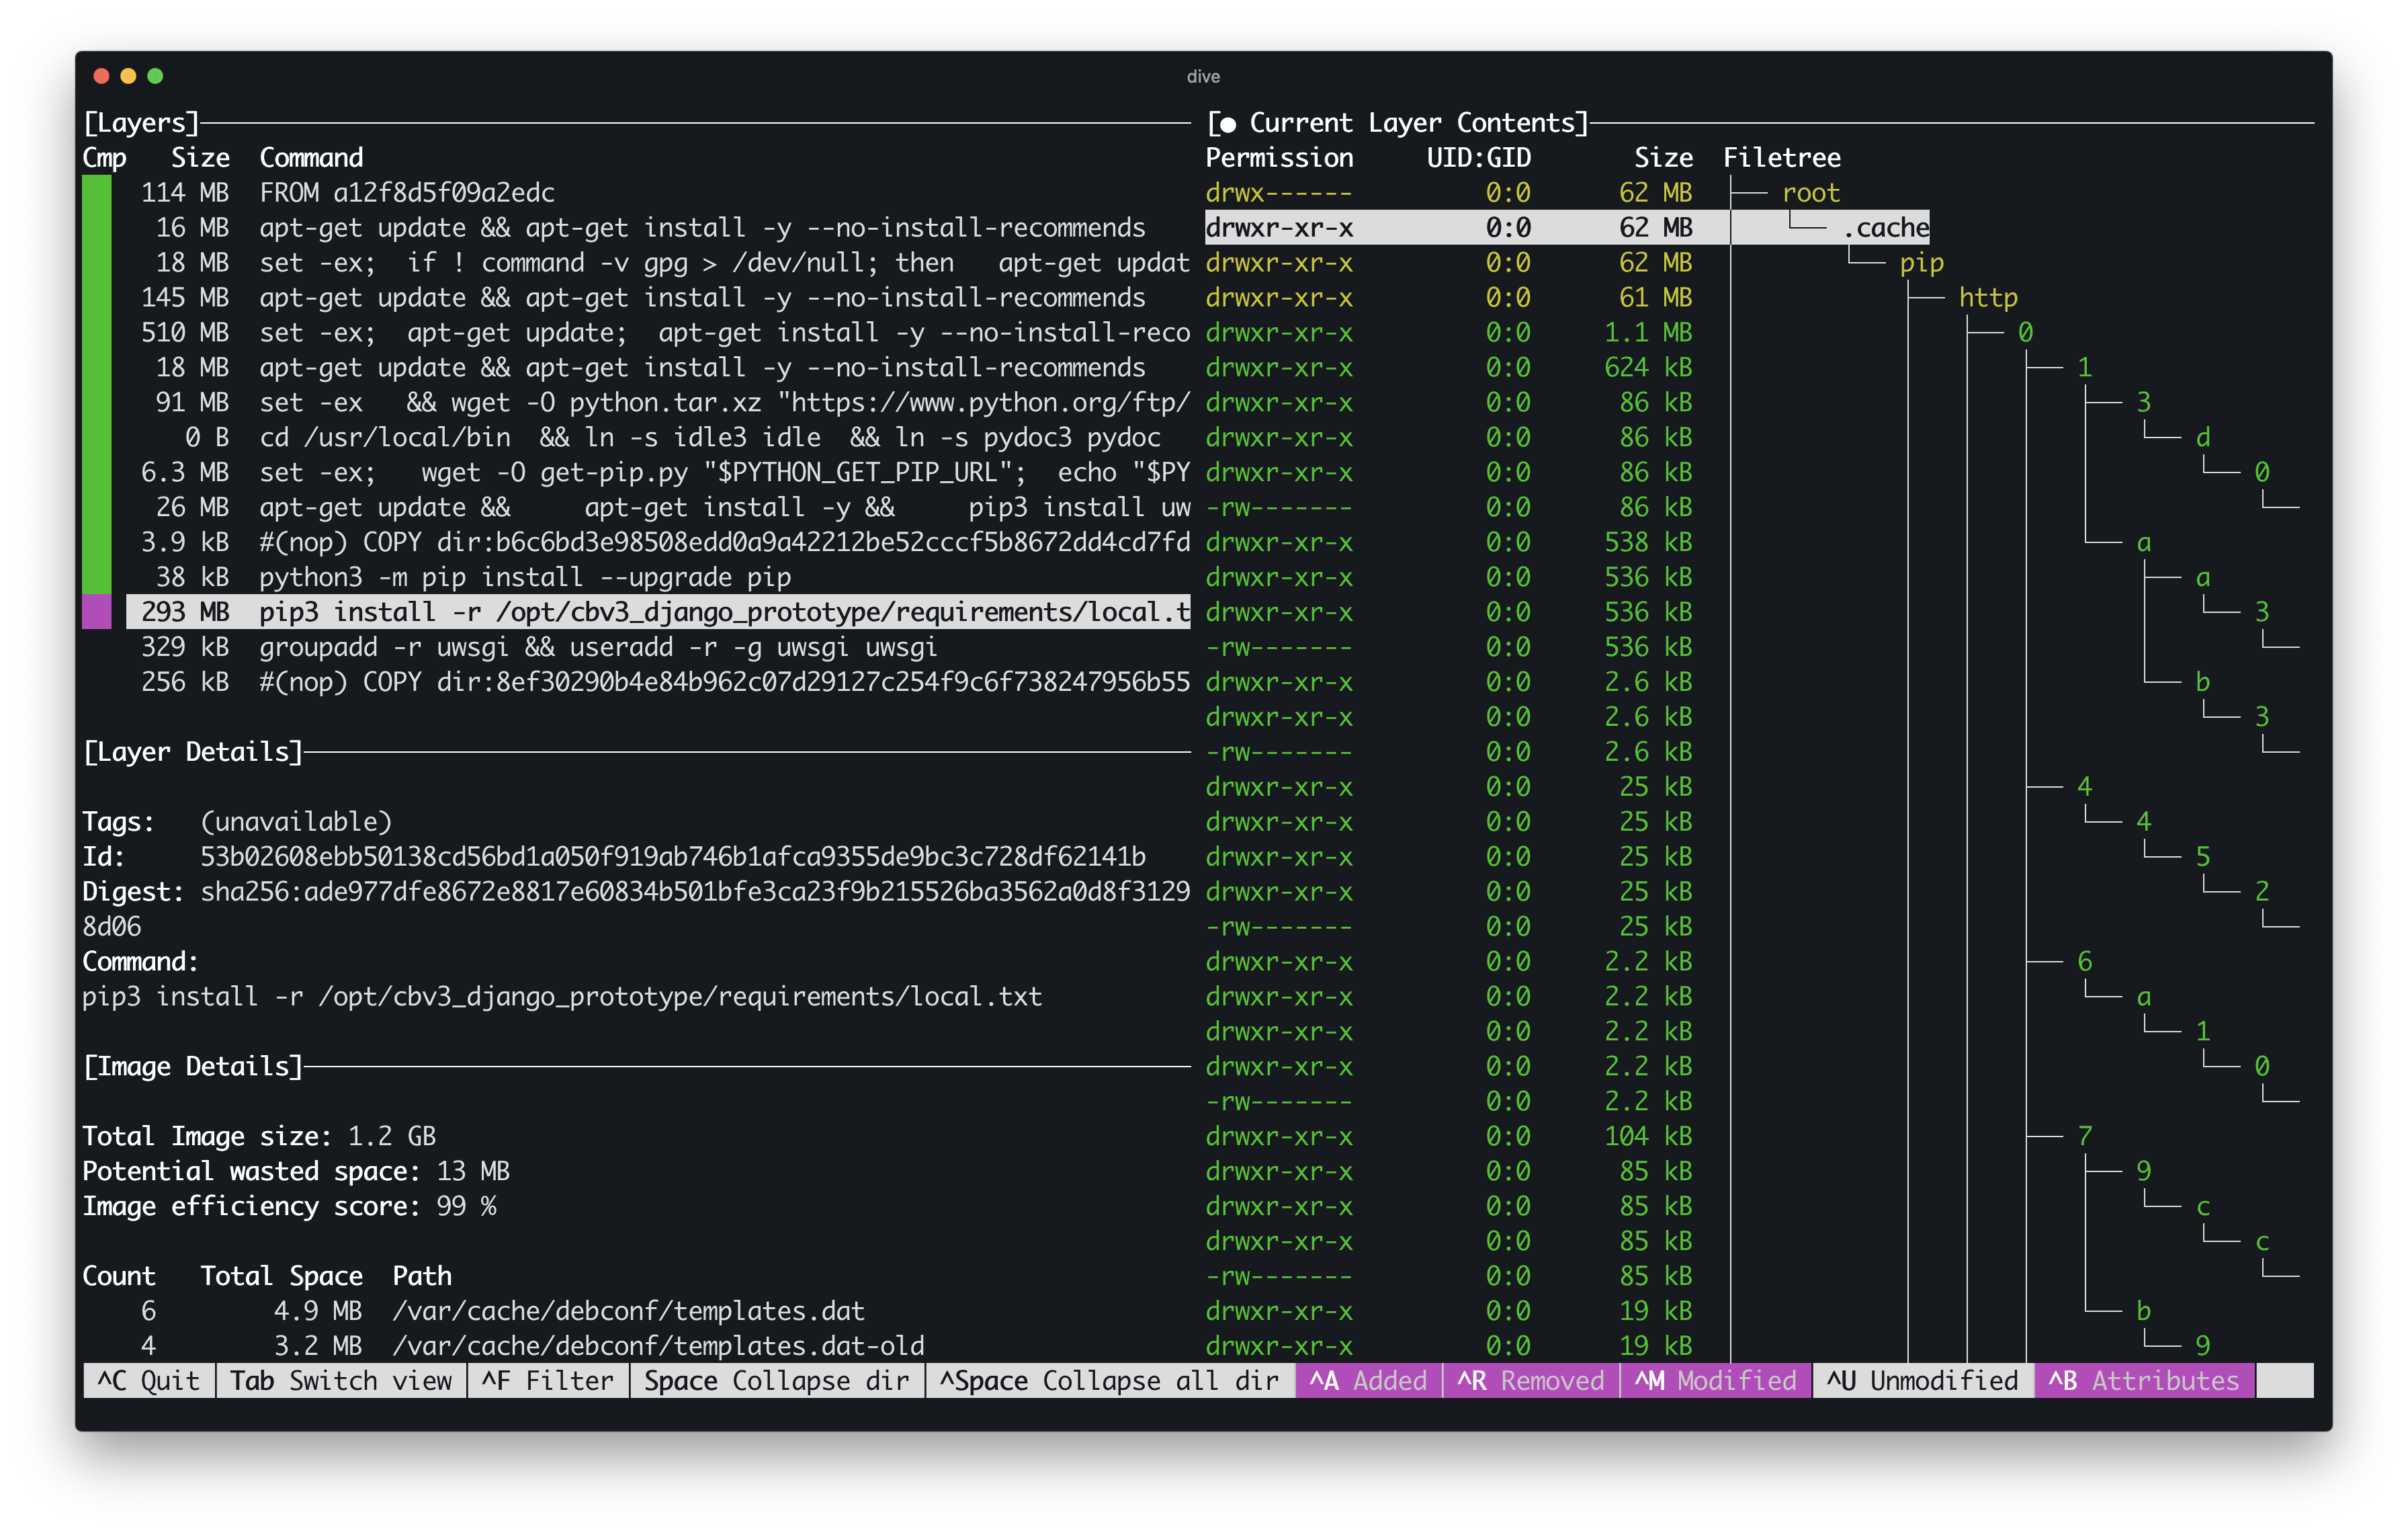
Storage used by cached Python packages
Here we see that caches, along with unused packages are adding 293 MB to our image. Dive doesn’t tell you what parts of an image are used but it does give you a very concise way to view the results of your image build process and to validate that the changes you get are the changes you expect to see. Armed with this information, I’m off to reduce the size of these Django images.