Many years ago I left Instagram and stopped sharing any of my photography publicly. I would occasionally share photos privately within a WhatsApp or WeChat group, but I lost the urge to share more broadly. I considered posting here on my blog, but both the theme and the publishing process weren’t photo friendly. Over the last few months, I’ve tweaked this blog just enough to make it possible to share photos again.
The Motivation
I have always enjoyed photography. Ever since I picked up my first digital camera back in 2003, a Casio Exilim EX-S3, I have been publishing photos online.
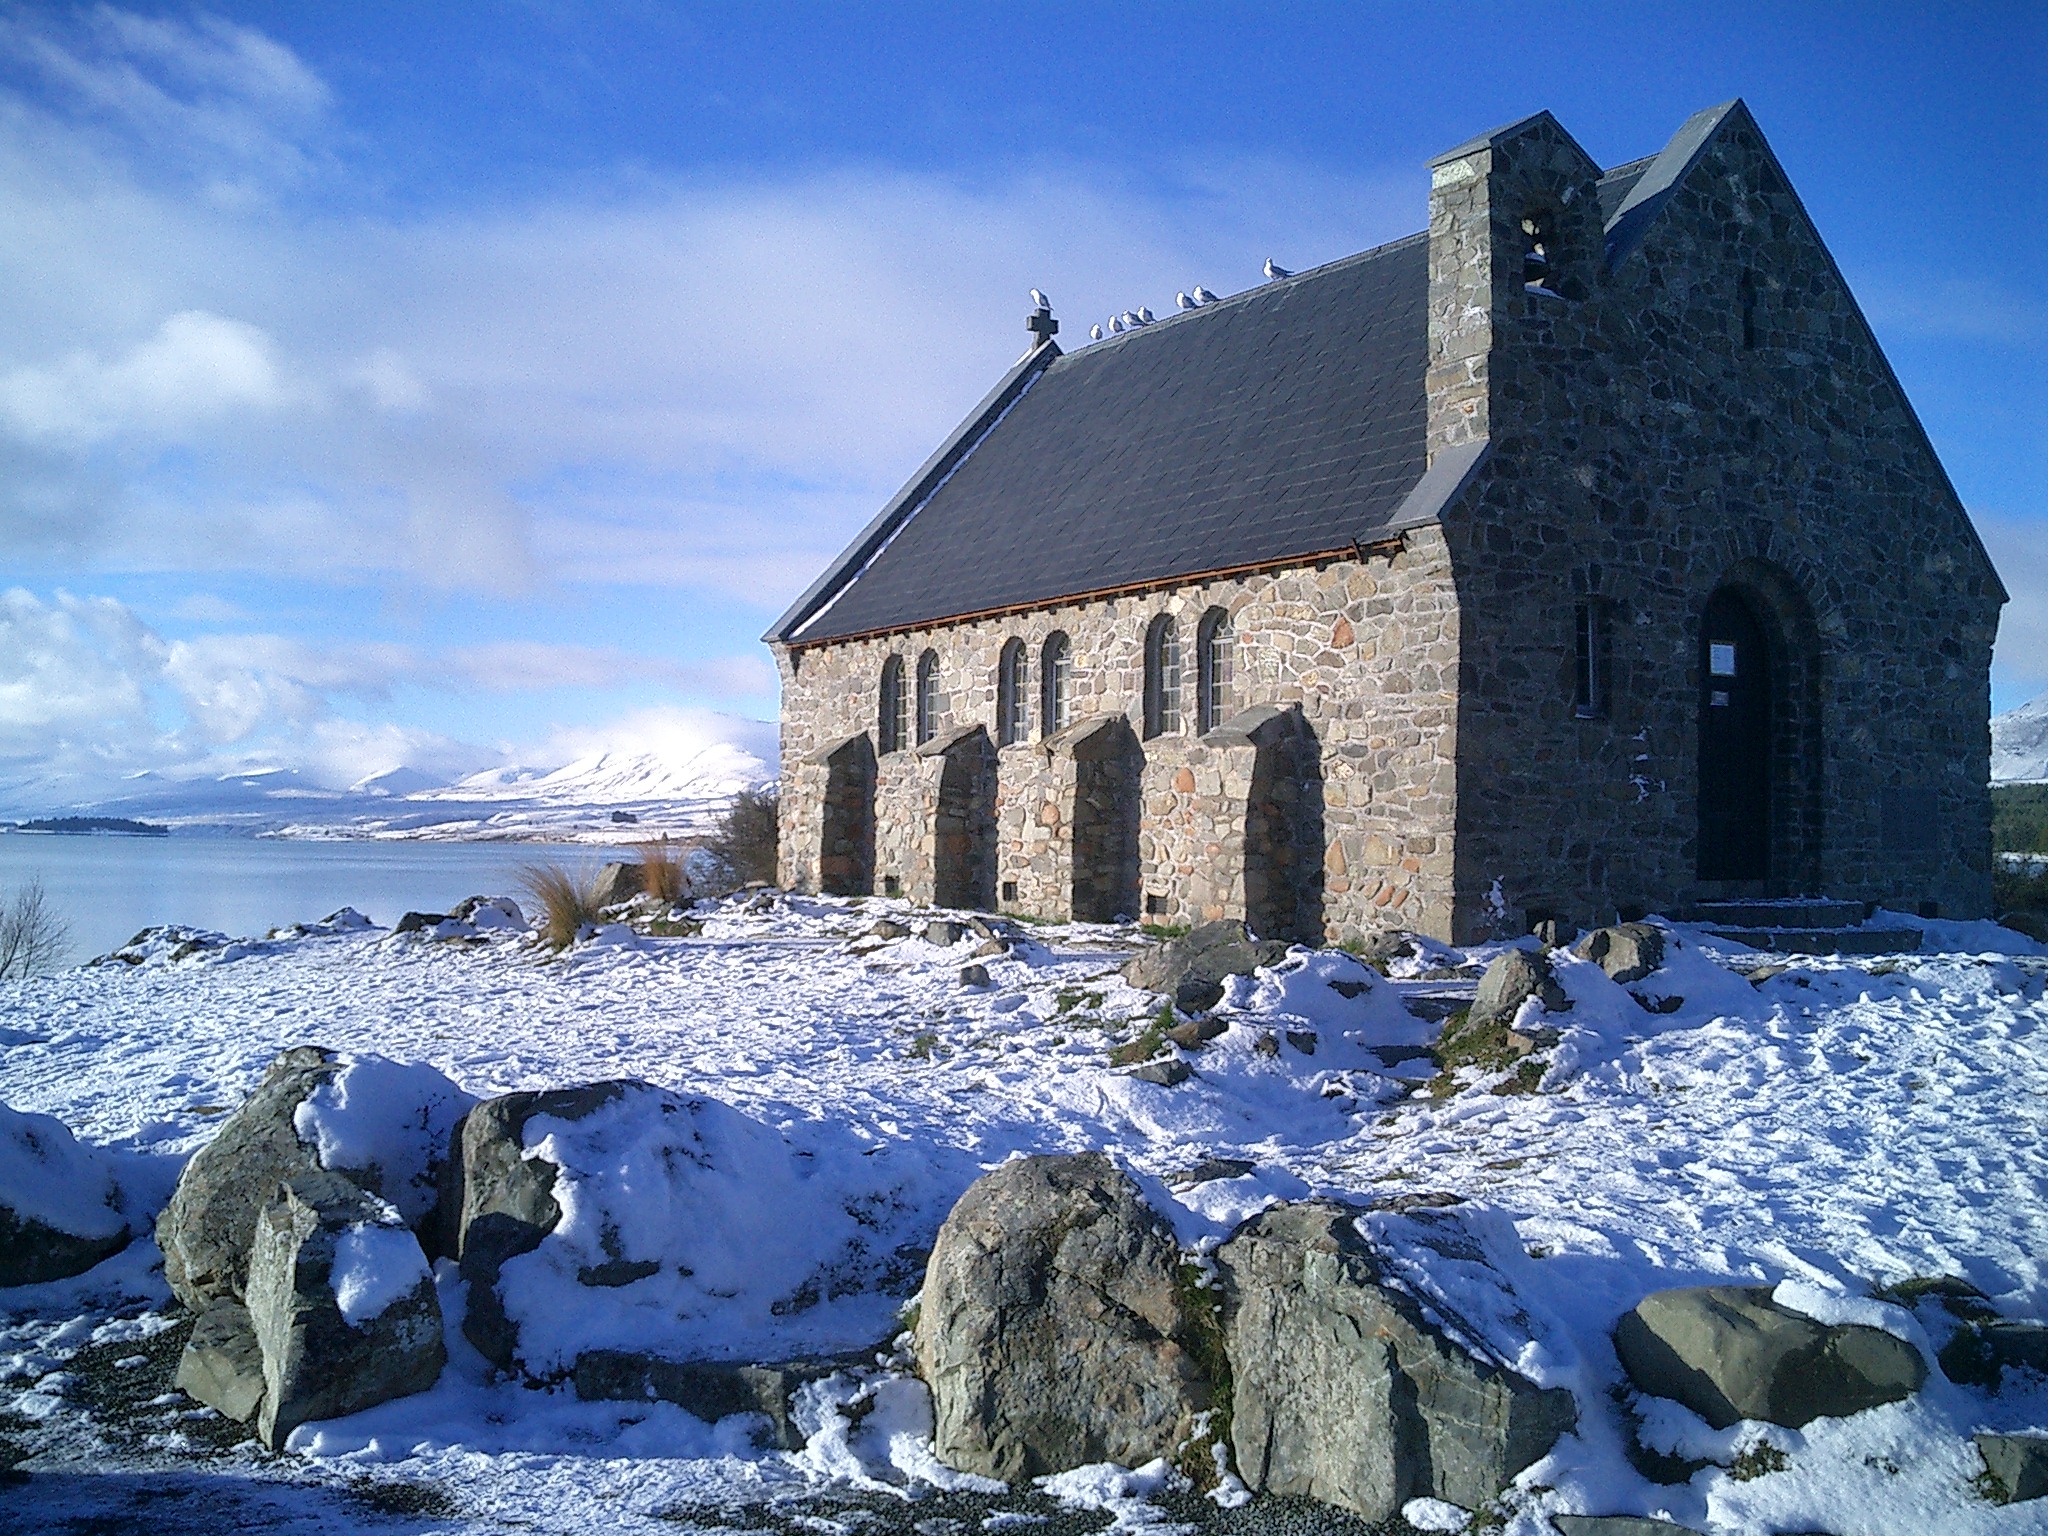
One of my earliest digital photos captured on the Casio Exilim EX-S3. The Church of the Good Shepherd by Lake Tekapo on South Island, New Zealand.
I was an early Flickr user before my first foray into self-hosting with an instance of Gallery running on the end of an ADSL line. I moved back to Flickr with a Pro account but was lured away by the early excitement of Instagram. By this point I was carrying a phone instead of a camera and Flickr never survived the advent of mobile.
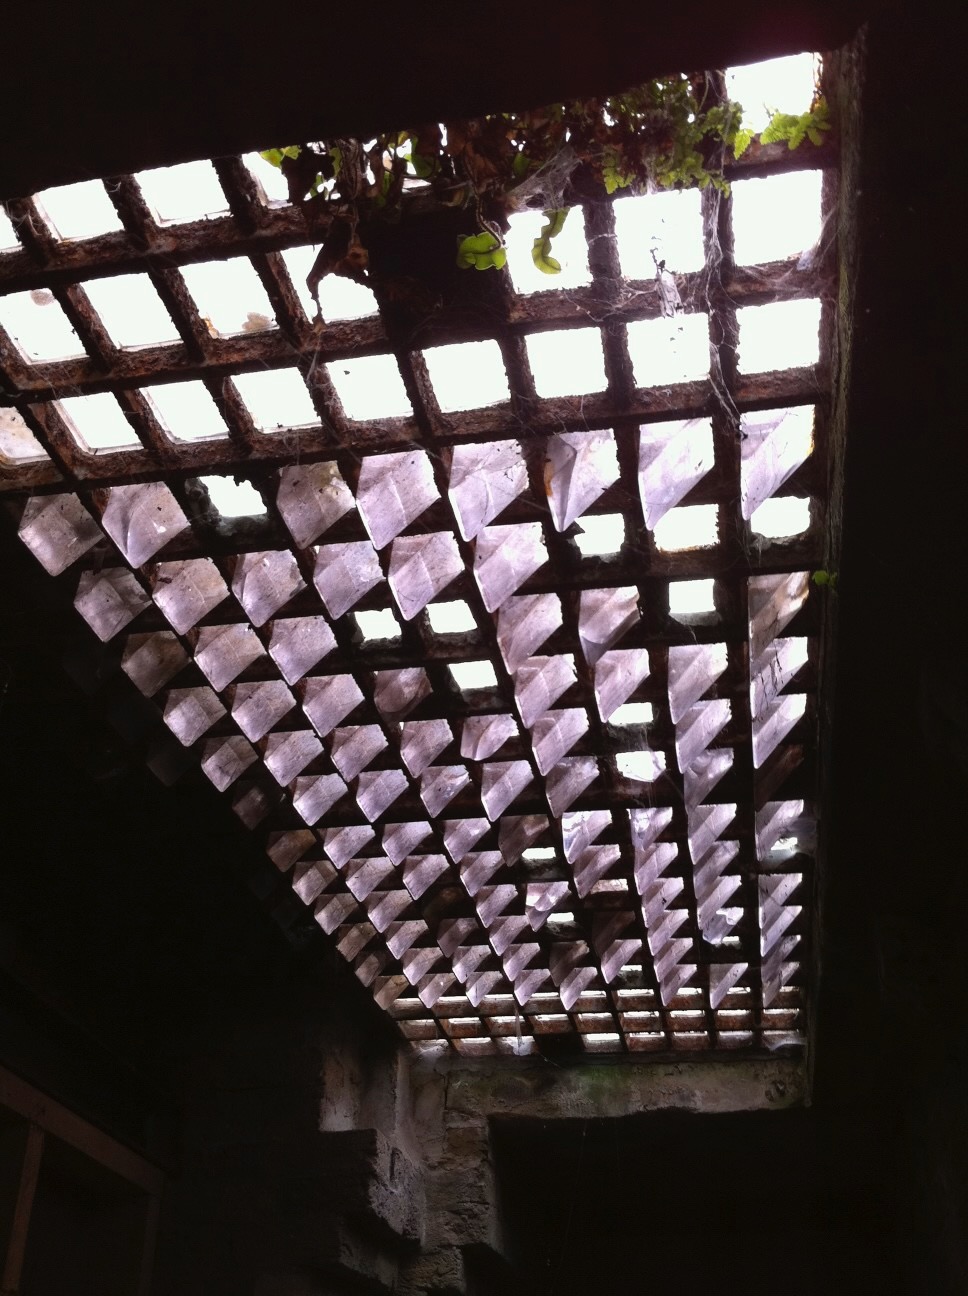
One of my earliest photos captured on an iPhone. This was taken in the basement of an art gallery, looking up at the street as we were preparing an installation by Rebecca Glover.
Instagram took off and I was encouraged to try crazy things like a Photo356 project resulting in My Year in Photos (2011). I will never forget the moment I discovered that photos captured directly in Instagram were deliberately down sampled to make upload quicker. I had taken a photo a day for a year, and was left with only poor quality images suitable for an Instagram feed.
Then around 2018 two things happened. Instagram started pushing their Stories feature more heavily along with an increase in the presence of adverts. Photography had lost out to social and advertising. And, my wife gave birth to our first son. Like any new parent my attention, and my photography turned towards the family. I picked up a portrait lens and for a long time the only photographs worthy of sharing were those of my family. The challenge, as a family, we had agreed that we weren’t going to plaster the internet with photos of our children.
And so, with Instagram no longer holding any joy, and the majority of my photography subject to a self imposed ban, I largely stopped sharing altogether.
But then something changed. I was given a birthday gift of an introduction to analogue photography at The Darkroom in London. I loved it. My early foray into analogue photography was a disaster. Mistake after mistake meant that I ended up with very few usable images. But I persisted and now have the confidence to take, develop, scan and share my work. I just needed somewhere to publish.
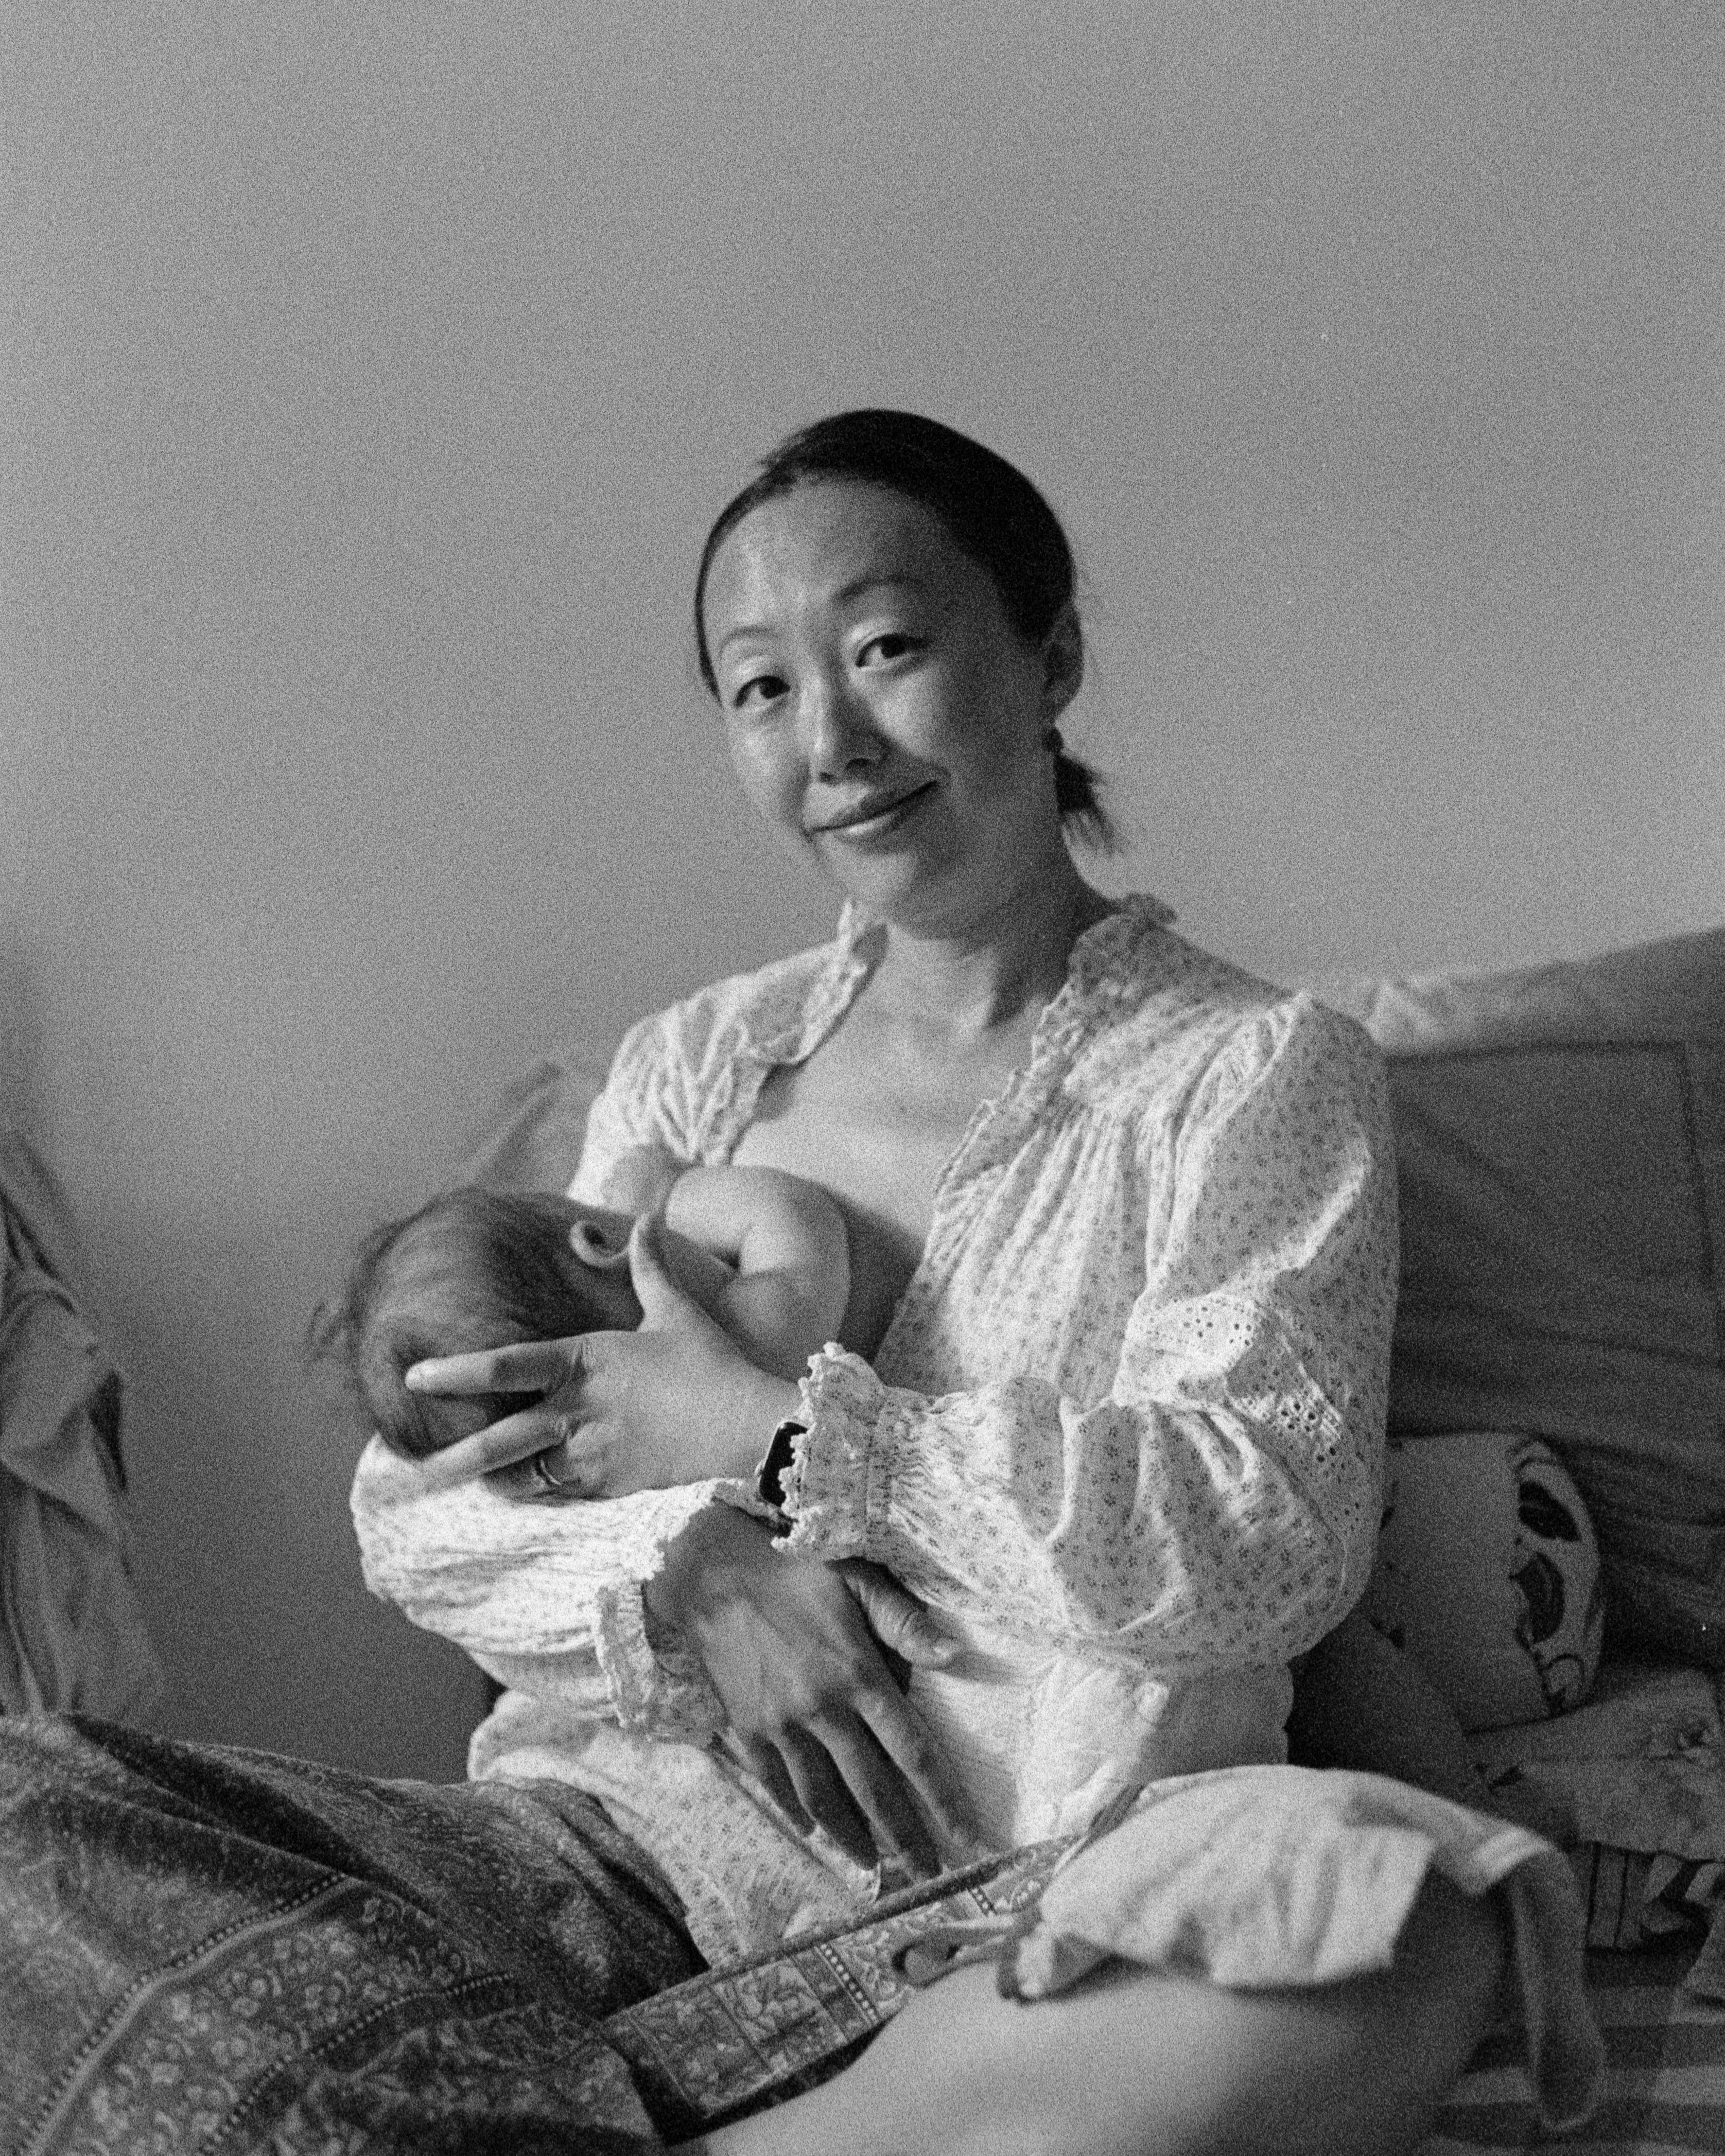
A black and white photo of my wife feeding our son, captured in Beijing on a Pentax MX on Iflord HP5+, developed at home in Ilfosol3 and scanned on a Plustek negative scanner.
My Goals
When it came to deciding how to share photos again, I didn’t spend too much time doing research. I knew I risked getting carried away looking for the perfect hosting solution for images. I opted instead to prioritise publishing something here on my own site and then iterating on it to improve as needed.
Goals
- The ability to share a single image with someone
- The ability to share meta-data about the image
- The ability to share some context about the image
- The image to be hosted on my own domain
- The publishing process to fit existing workflow
- The ability to share images on Mastodon
Anti-Goals1
- A beautifully designed website
- The ability to share a gallery or sequence of images
- The ability to publish images from my phone
- The ability to geo-locate images on a map
- The ability to import a back catalog of images
Implementation
I use Hugo to publish this blog. Content in Hugo is typically represented by a markdown file. This Content is cateogrised into top level Content Types. These Content Types are typically mapped onto top level folders for your content. For example, this site had the following content types.
.
├── lists
├── music
├── notes
├── post
└── videos
Hugo then uses content specific templates to render the final HTML version of the site. If no content specific template is available it falls back to using a generic default. Photos are a good example of a Content Type that is distinct from say Blog Posts, or Notes.
The building blocks to creating a photo gallery in Hugo are:
- a new content type,
./photos - a template to display the image,
single.html - a template to display the list of images,
list.html
I started by creating the photos content type.
.
├── lists
├── music
├── notes
├── photos
├── post
└── videos
To publish a new photo, I needed to create a markdown file (Content) for each photo. A typical example might look like this.
/photos/image1.md
In the markdown file, I included a reference to a photo that I wanted to display.
# Sample Photograph

Some context for the sample photograph could go here.
The image is stored seperately to the markdown file, in this case in /assets/images/. With images stored outside the content structure like this, it becomes difficult to associate images with the pages that render them. I’ve found this particularly problematic when removing or restructuring images.
To improve handling of page specific resources like this, Hugo introduced Page Bundles. Page Bundles are directories within the Content Type directory. They allow you to bundle together a page with its associated resources.
The image1.md example from above would look like this when using page bundles. The image(s) are now stored in the same directory as the markdown file that references them.
/photos/
/photos/image1/
/photos/image1/index.md
/photos/image1/sample.jpeg
At this point I had my new Photos Content Type. I was still relying on the default template for rendering but I was able to publish photos. At a high level, the workflow involved three steps.
- Create a directory for the photo
- Copy a photo into the directory
- Write the markdown file referencing the photo
The first two steps were relatively straightforward. But the contents of the markdown file is worth a closer look. This is where my publishing process started to encounter too much friction. This is an example from one of the first photos I published.
title: "Routine"
 date: "2023-09-28T07:57:25+01:00"
 category: "photos"
 tags:
 - Challenge
 - BlackAndWhite
---

{{< figure src="IMG_1175.jpeg" title="Routine" caption="A black and white photo of a level crossing with barriers down across the road. A train coming from left to right across the image has just entered the crossing. On the far side of the tracks, brick building line the railway.On the near side, a bike rests against the warning lights." >}}

## Challenge
The theme was routine. The constraints were full manual, no editing outside of the camera.

## Metadata
- Camera Model Name: Canon EOS 6D Mark II
- Lens: Canon EF 40mm f/2.8 STM
- Focal Length: 40.0 mm
- ISO: 800
- Aperture: 9.0
- nShutter Speed: 1/250
- Exposure Program: Manual
- Exposure Compensation: 0
- Metering Mode: Center-weighted average
- Exposure Mode: Manual
- White Balance: Auto
- Captured: 2023:09:28 07:57:25.720+01:00
This file isn’t particularly long, but there were three things that were painful.
- I could never remember the syntax for the
figureshortcode - Extracting and typing the EXIF meta data by hand was painful
- By default, images were unnecessarily large
Hugo had a couple of features that looked like they might be able to help.
- Image processing (EXIF) - automatically extract EXIF data from the image
- Image processing (resize, fit) - resize the image to fit my template
- Front matter - add additional structured information to the post
I settled on a revised version of the markdown file that is very similar to that below.
---
title: "Routine"
date: "2023-09-28T07:57:25+01:00"
description: "A black and white photo of a level crossing with barriers down across the road. A train coming from left to right across the image has just entered the crossing. On the far side of the tracks, brick building line the railway. On the near side, a bike rests against the warning lights."
tags:
- Challenge
- BlackAndWhite
resources:
- title: Routine
  src: 'IMG_1175.jpeg'
---

## Challenge
The theme was routine. The constraints were full manual, no editing outside of the camera.
I prefer this as there is no need to remember how to lay out the image. The description of the image is pulled from the post front matter. There is no need to type out the EXIF data. Optionally specifying the resources front matter allows me to set additional properties of the image; title, license, etc.
Now that I had the markdown structure I wanted, I needed to create two new layouts for my theme. These go in the photos subfolder within my theme layouts. This tells Hugo to use these layouts when rendering posts in the photos category.
themes/wip/layouts/photos/
themes/wip/layouts/photos/single.html
themes/wip/layouts/photos/list.html
single.htmlis used to render individual postslist.htmlis used to render the list of all photos
I’ll describe how I approached key aspects of these, but if you are just interested in the full files, they are available on GitHub.
Single Posts
Problem: I could never remember the syntax for the figure shortcode.
Solution: I loop through all page resources that are of type image and generate the HTML layout for each image. Page resources are essentially image files that are included in the same folder as the markdown.
Problem: Images are unnecessarily large.
Solution: I use Hugo’s image processing pipeline to resize the image before including it in the final HTML.
{{ with .Resources.ByType "image" }}
    {{ range . }}
        {{ $image := .Fit "1024x1024" }}
        <figure>
            <img src="{{ $image.RelPermalink }}" alt="{{ $.Description }}">
            <figcaption>{{ $.Description }}</figcaption>
        </figure>
    {{ end }}
{{ end }}
Problem: Typing the EXIF metadata by hand is painful.
Solution: Using the image processing capabilities in Hugo, I’m able to extract fields of interest and generate the table.
{{ with .Exif }}
        <h2>Metadata</h2>
        <table>
            {{ with $image.Title }}
            <tr>
                <th>Title</th>
                <td>{{ . }}</td>
            </tr>
            {{ end }}
            {{ with .Date }}
            <tr>
                <th>Date</th>
                <td>{{ . }}</td>
            </tr>
            {{ end }}
            {{ if isset .Tags "Model" }}
            <tr>
                <th>Camera</th>
                <td>{{ .Tags.Model }}</td>
            </tr>
            {{ end }}
            {{ if isset .Tags "LensModel" }}
            <tr>
                <th>Lens</th>
                <td>{{ .Tags.LensModel }}</td>
            </tr>
            {{ end }}
            {{ if isset .Tags "ExposureTime" }}
            <tr>
                <th>Exposure Time</th>
                <td>{{ .Tags.ExposureTime }}</td>
...
I haven’t included the full snippet here, but it is available on GitHub.
Some of the EXIF values are magic numbers and so displaying them is a little more involved. The following example shows how to extract a meaningful representation of the Metering Mode.
{{ if isset .Tags "MeteringMode" }}
<tr>
	<th>Metering Mode</th>
	<td>
    {{ with (eq .Tags.MeteringMode 0) }}Unknown{{ end }}
		{{ with (eq .Tags.MeteringMode 1) }}Average{{ end }}
		{{ with (eq .Tags.MeteringMode 2) }}Center Weighted Average{{ end }}
		{{ with (eq .Tags.MeteringMode 3) }}Spot{{ end }}
		{{ with (eq .Tags.MeteringMode 4) }}MultiSpot{{ end }}
		{{ with (eq .Tags.MeteringMode 5) }}Pattern{{ end }}
		{{ with (eq .Tags.MeteringMode 6) }}Partial{{ end }}
		{{ with (eq .Tags.MeteringMode 255) }}other{{ end }}
	</td>
</tr>
{{ end }}
I made a couple of other additions to the template to allow me to specify a license for the photos or fall back to a default license if none is specified. I also added a very simple summary of any webmentions for the page.
Post Listing
I didn’t really know what I wanted to do with the category or list page for photos. By default my list pages display a date ordered list of posts showing a tag, post title and the date of the post.

The list page showing my photos using the standard template.
As a minimum I wanted to show a post thumbnail rather than just the title. The default grouping by year felt a little course and so I decided to group by month.
I continued to use the semantic definition of an ordered list for the posts, but tweaked the display using the CSS Flexible Box Model (flexbox) to display a basic photo canvas. I made use of image processing in Hugo to resize the images before including them in the resulting HTML.
The snippet below shows the grouping of posts by month and the generation of the thumbnail from the first image in a post.
{{ range .Pages.GroupByDate "Jan 2006" }}
        <h4>{{ .Key }}</h4>
        <ol class="photo-list">
            {{ range .Pages }}
            {{ $firstImage := index (.Resources.ByType "image") 0 }}
            {{ $firstImage = $firstImage.Fit "480x480" }}
            <li>
                <a href="{{ .RelPermalink }}" title="{{ .Title }}">
                    <img src="{{ $firstImage.RelPermalink }}" alt="{{ .Description }}">
                </a>
            </li>
            {{ end }}
            <li></li>
        </ol>
        {{ end }}
There is definitely more I could do with the index page but I was happy with the result.
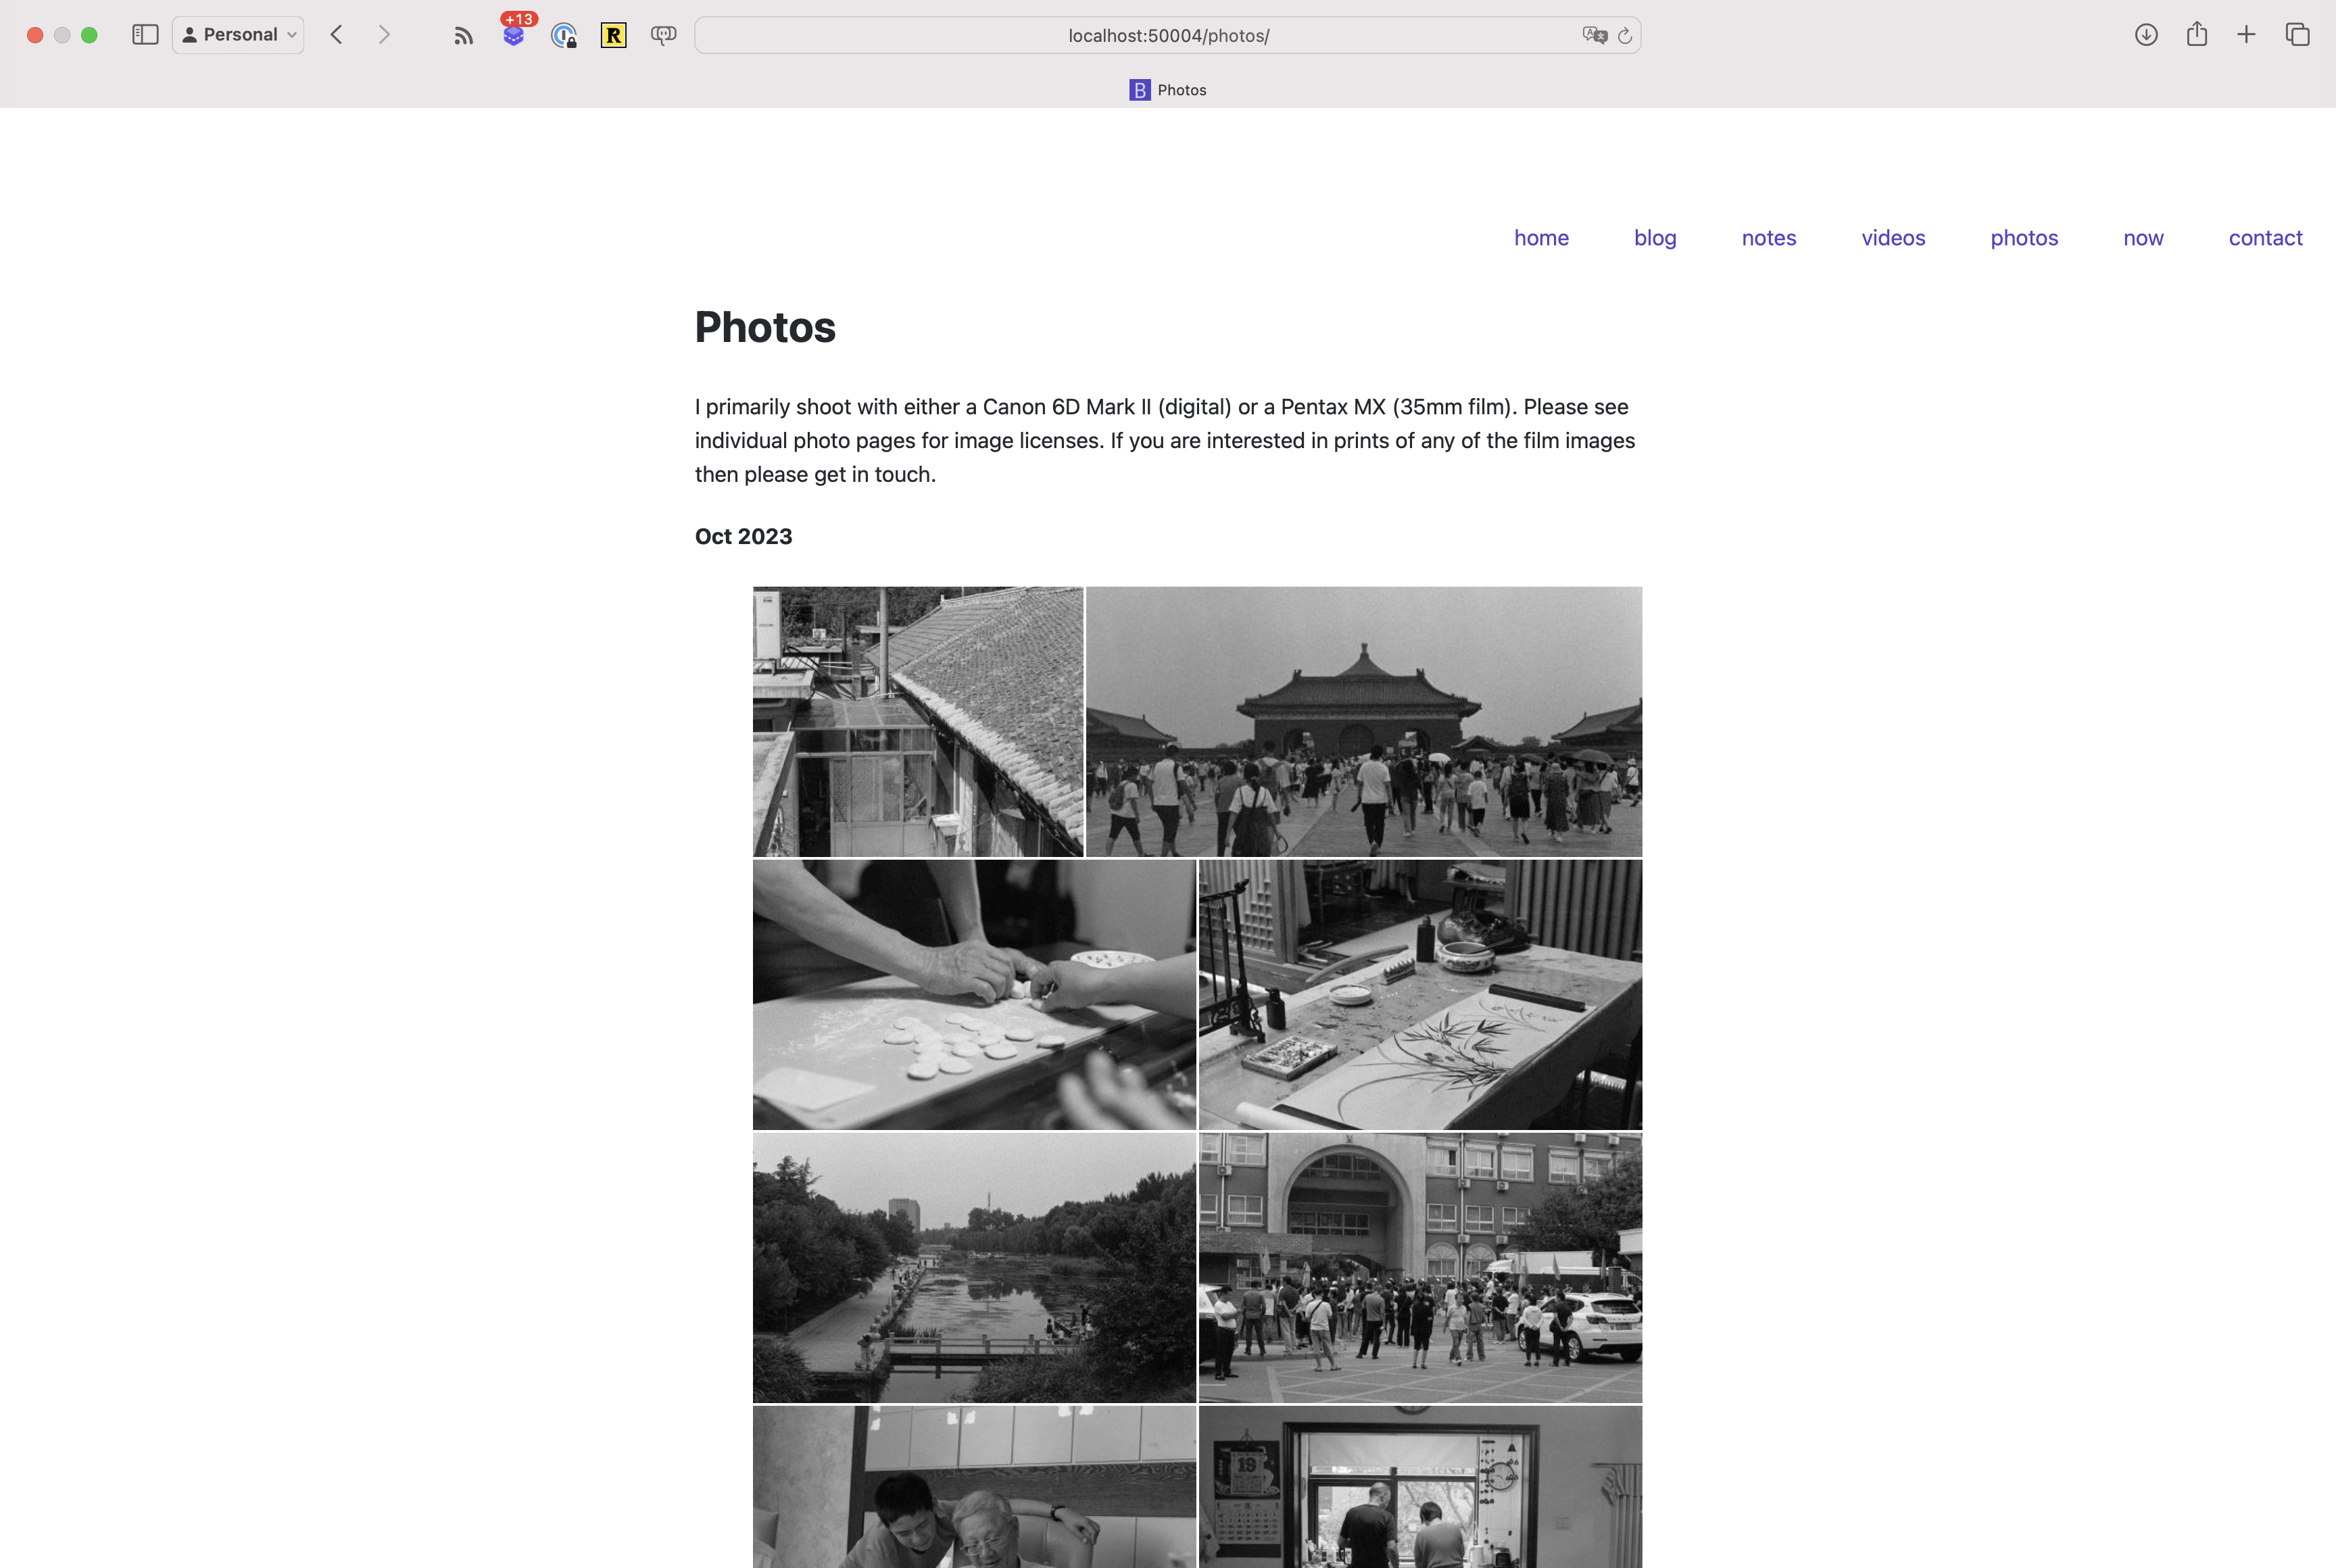
The list page showing my photos using the new photos template.
Results
I’ve been very happy with the results so far. The post pages look reasonable and I’m quite fond of the list pages. Most importantly though I’m happy with the publishing workflow.
- Create a folder for an image
- Copy original images into the folder
- Create a markdown file consisting of post metadata
I’m really happy that I no longer have to remember shortcode syntax, resize images or extract information from the EXIF data.
The publishing process still requires me to sit down in front of a computer but I’m finding that less of a burden than I anticipated. I haven’t found myself craving the ability to publish on the go. If anything the wait provides a nice buffer to give me a chance to consider whether an image is really something I want to share.
What Next?
I’m going to use the gallery as it is for a bit longer before embarking on adding any new features. There are a couple of things I’d like to add but want to see if the desire to add them holds after a period of sustained use.
- statistics - I’m curious if I favour some camera settings above others.
- gallery - I’d like to be able to show multiple images in a single post.
- geolocation - I’d like the ability to optionally display the location an image was taken.
- categorisation / filtering - I’d like to be able to view images by category or tag; e.g. Digital v.s. Film
- large Git repository concerns - I’m slightly worried that storing my full size images in a repository on Github will result in issues as the size grows
- offer prints / full size images - I’d like to find a way to allow people to print full-size images from the site
If you use Hugo for your blog and have had doubts about its capability as a platform for photography, I’m hoping this post has convinced you that the platform is more than capable.
In the mean time, feel free to browse my photos.
Footnotes
-
If you are not familiar with anti-goals, these are things that I want to do some day but would distract from what I want to do today (see
PivotalTanzu Practices). ↩︎