I attended a half-day Cyanotype Printing workshop at The Darkroom in London. I knew nothing about the process going into the workshop, only that the images produced were typically a deep blue.
The workshop covered:
- talking through some impressive examples of existing work
- mixing chemicals
- coating the paper
- gathering things to print
- prints in the sun
- prints under UV light
- washing prints
- use of hydrogen peroxide
- staining prints to alter the colour
I love the simplicity of the cyanotype process. Despite its simplicity, there are various options for creativity. Using different types of paper, brush strokes, or quantities of chemicals can result in a wide variety of images. Additionally, your choice of objects, the depth of the blue, and staining all provide opportunty for creativity.
Importantly for me, the entire process can be adapted for a child-friendly workshop. I plan to experiment with Cyanotype in the upcoming weeks. Chemicals will be arriving soon.
Fresh leaf printed under UV light. The thickness of the leaf meant that none of the vein structures came out, despite being clearly visible to the naked eye.
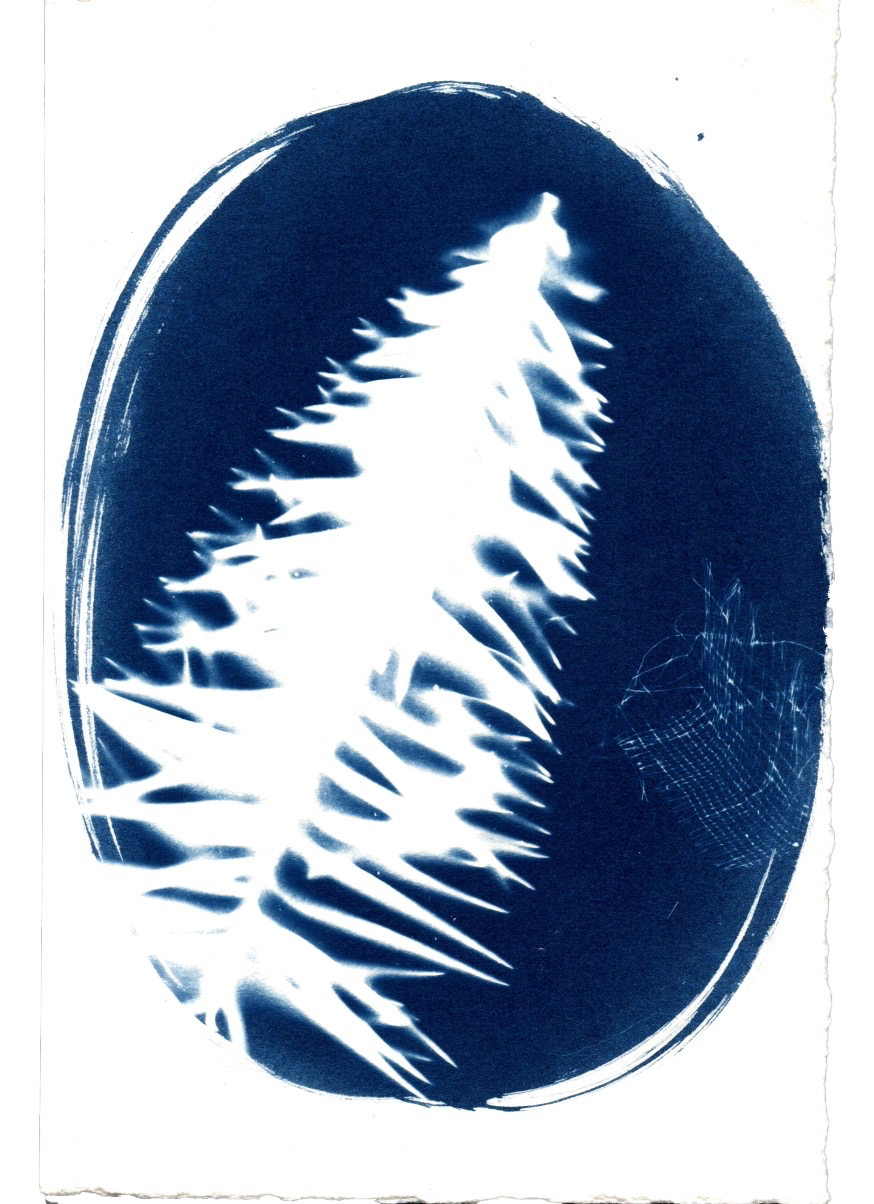
Paper coated with oval brush strokes, dried pine leaf, and fine netting. An exercise in balancing finer details against a more dominant object.
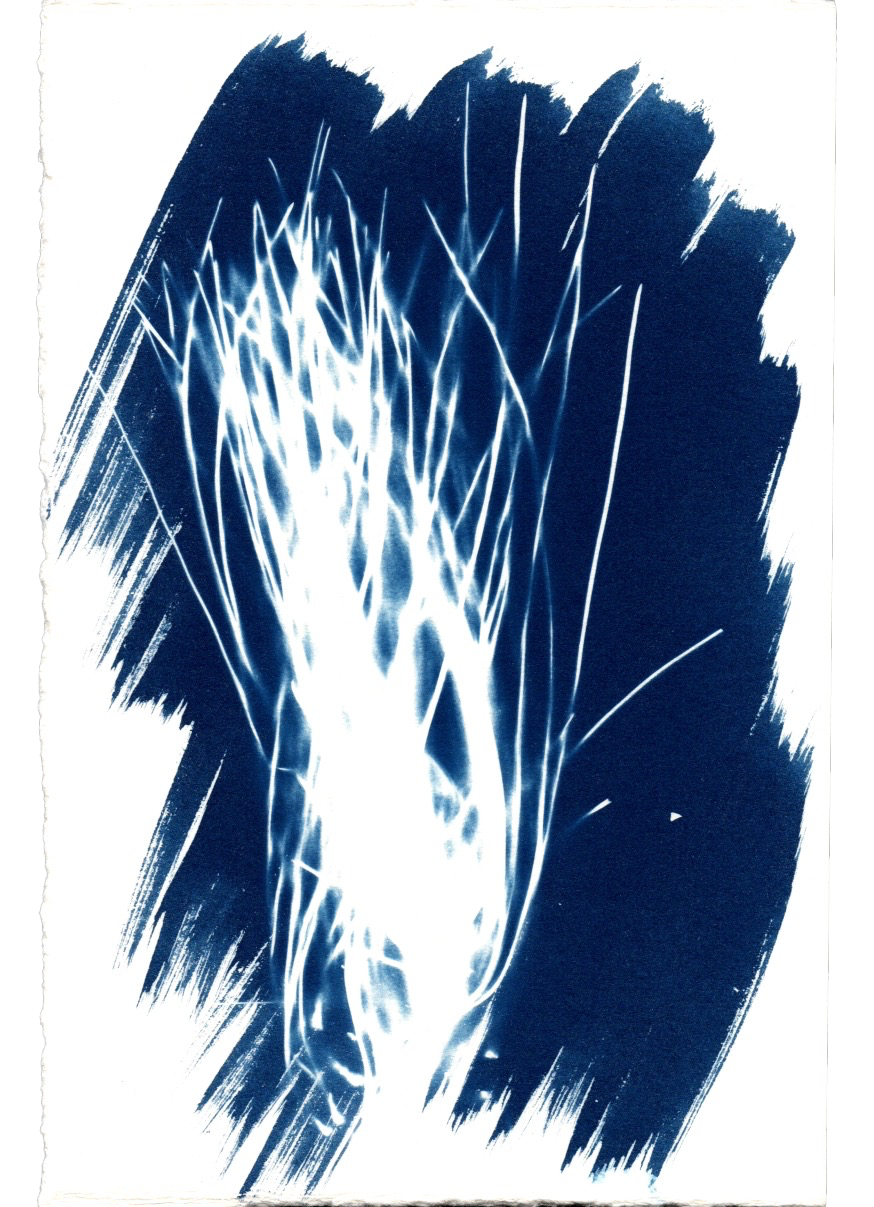
A bunch of dried pine needles because the needles came off the branch at different angles, the image retains some depth.
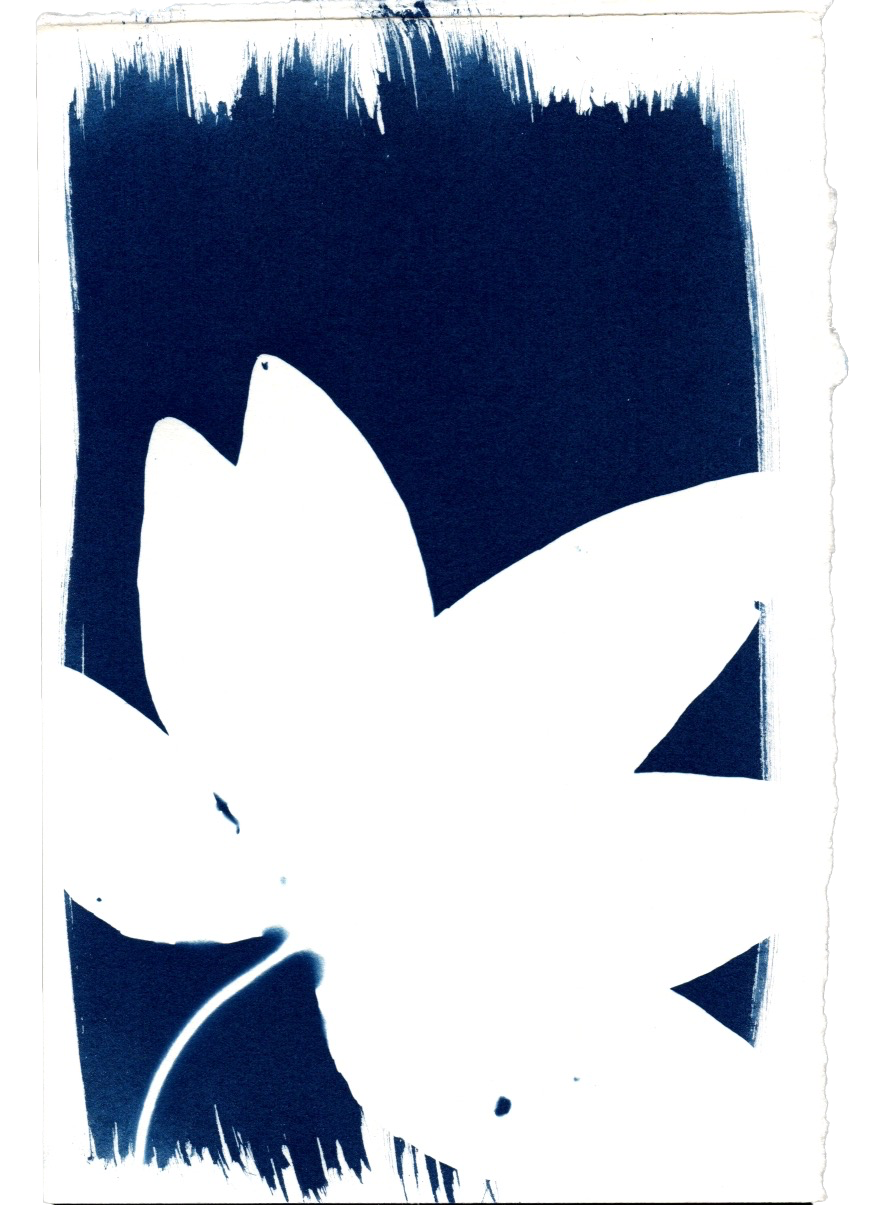
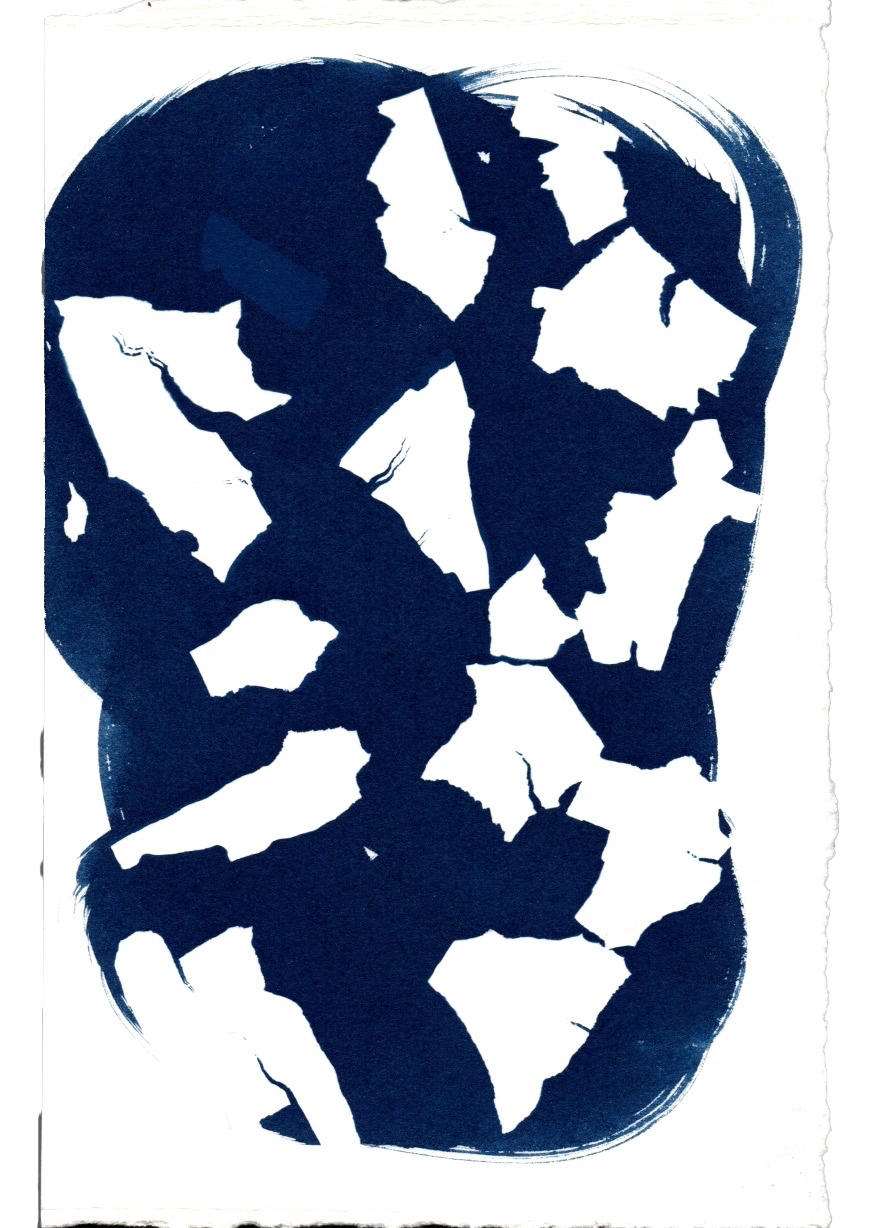
Dried onion skin flattened under the glass reminded me of an aerial shot of an ocean ice shelf, but colour inverted.
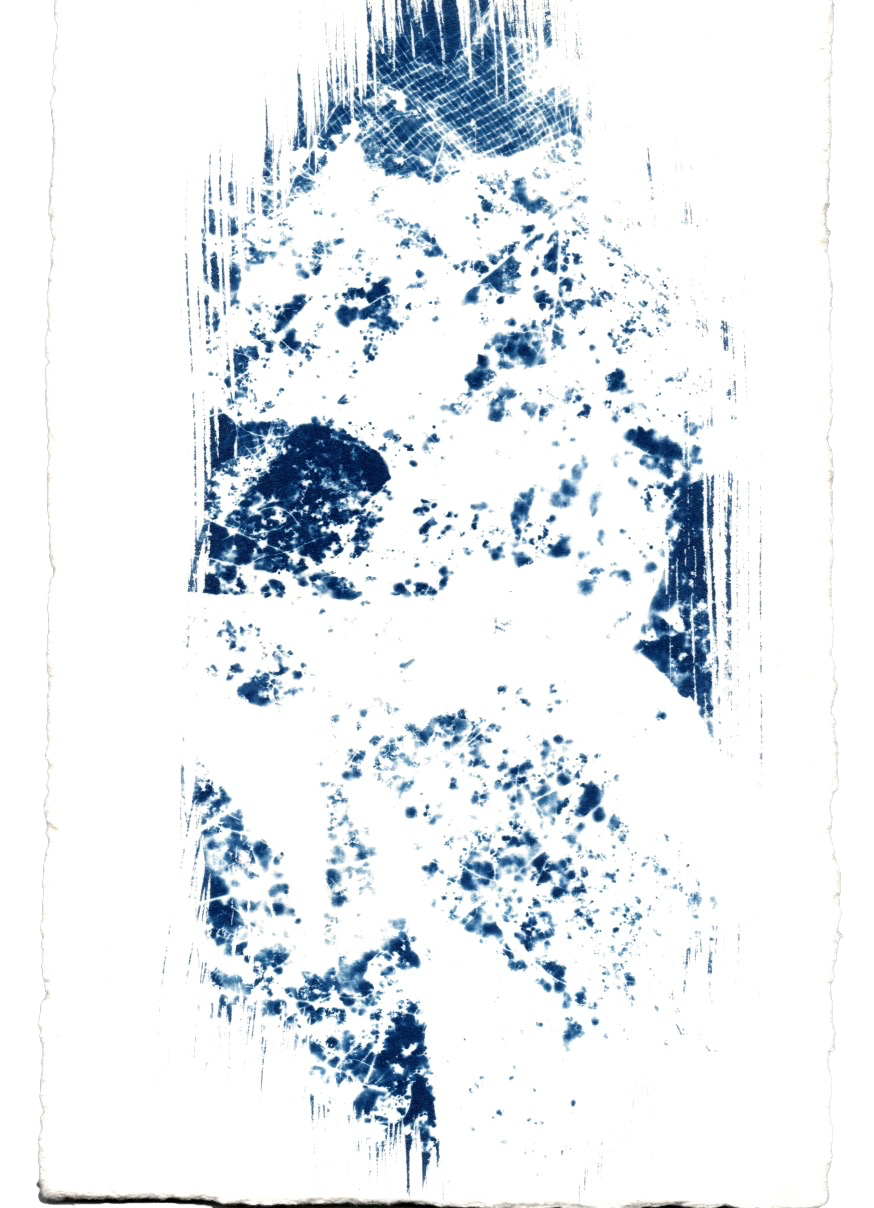
I attempted to invert the ‘ice shelf’ image from earlier with fewer onion skins spaced further apart. A longer exposure failed to capture detail in the skin.
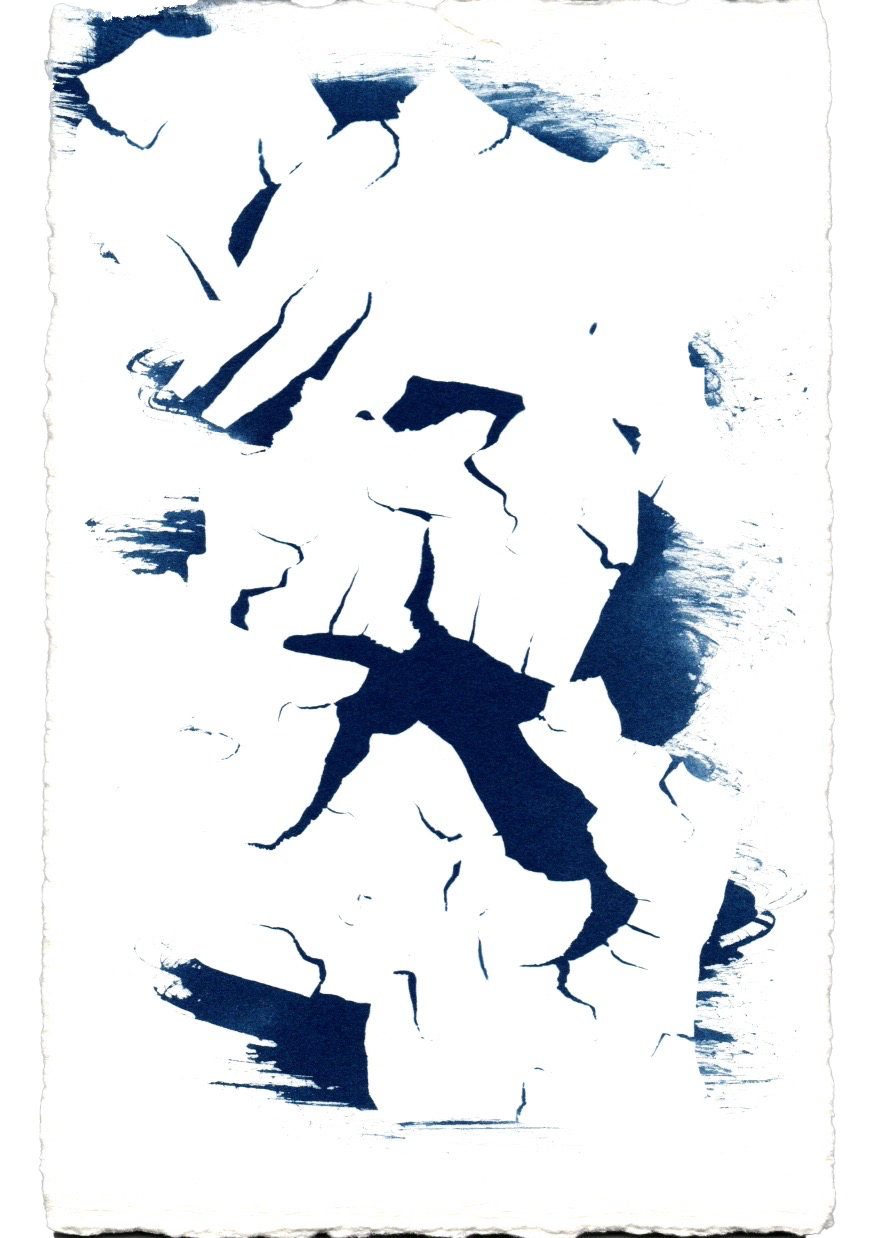
Don’t overthink it. This image was a mix of netting, lace, and packing material. I can’t explain the almost solid line that goes accross the centre of the image.
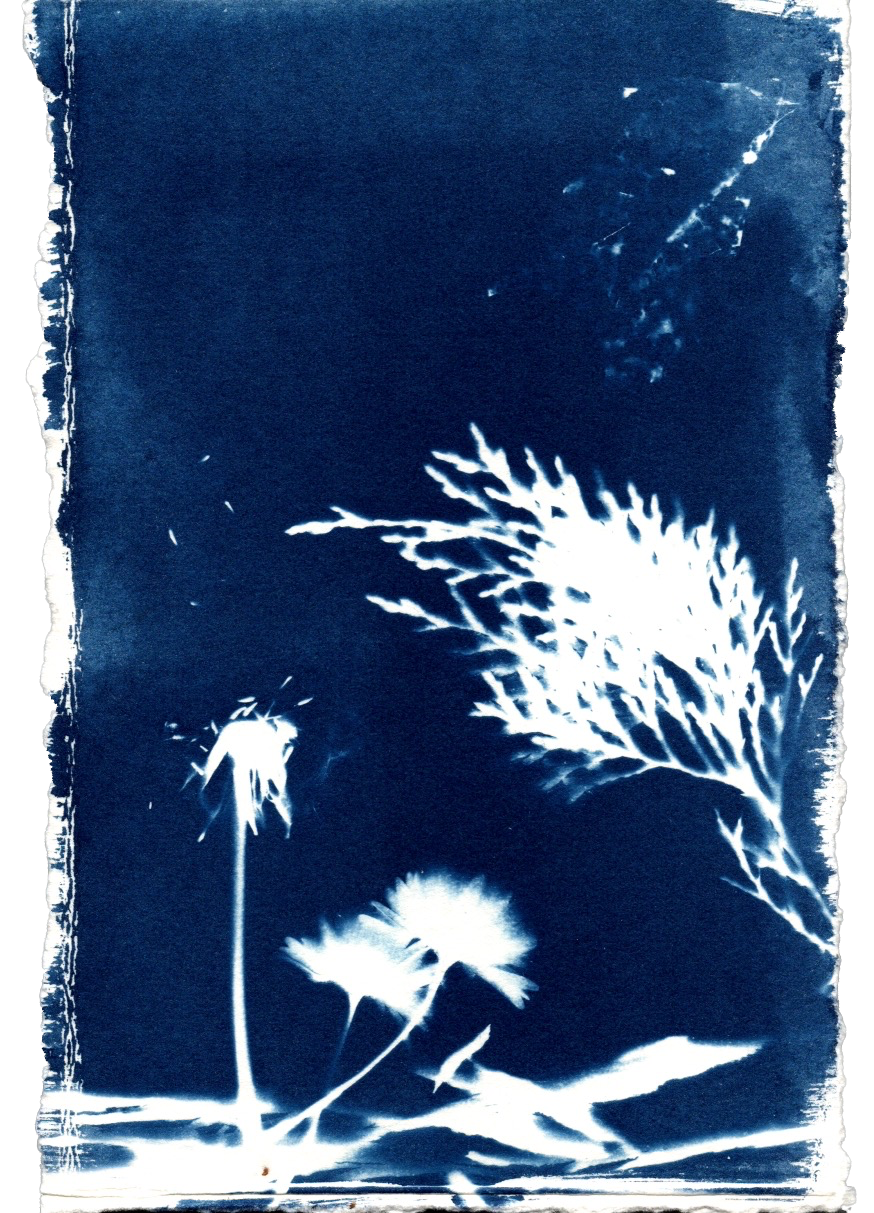
An attempt at conveying a scene: This image was captured under the sun. I love how soft and fluffy the daisies look. There is a loss of detail around the edges of the petals.
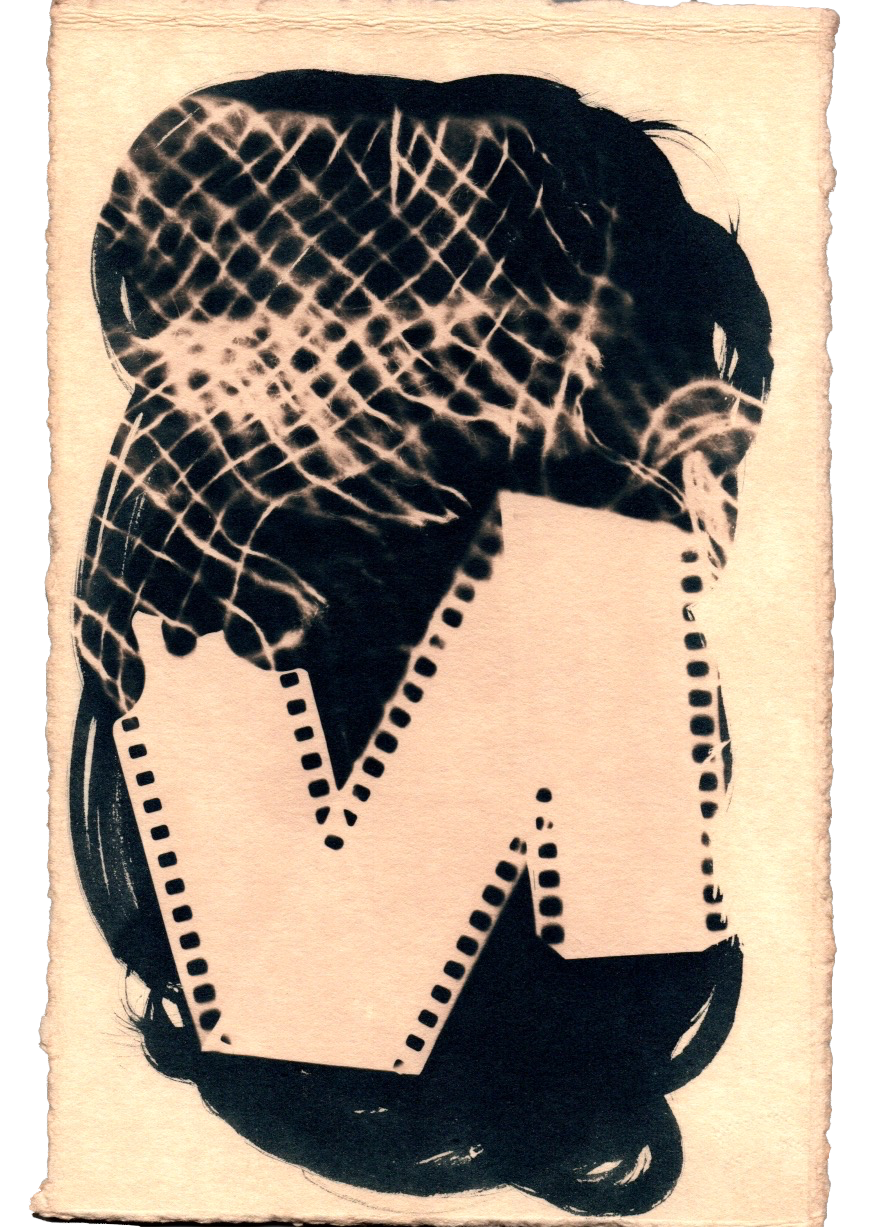
A roll of film on some netting, printed under the sun, stained with black tea. The details around the overlapping negative were visible before washing the image.
Notes
Hot-pressed watercolor paper offers a smoother finish than the cheaper cold-pressed paper.
You only need a few drops of the light-sensitive coating to cover an A5 piece of paper.
If you store the two solutions separately, it keeps for a long time.
You can print even on cloudy days in the UK.
Hydrogen peroxide can be used to deepen the blue after washing, but some guides online advise against this.
Laying out my images felt a bit like adding toppings to a pizza: the simpler, the better. Don’t overthink it.
Some of the detail visible before washing will be lost during the wash.