Following on from my First Cyanotype, we tried to turn it into a family activity. When I’ve mentioned it to people, they’ve asked to see the prints, quickly followed with digging in to how we did it. This post answers both questions.
The Method
Equipment
- Jacquard Cyanotype Sensitizer Set
- Daler-Rowney Aquafine Smooth Hot Pressed 300gsm Watercolour & Gouache A4 Paper
- A4 Acrylic Sheet Clear Perspex Sheet 3mm Thick
- Paint Brushes
- Protective Table Cloth
- Objects to print; plants, leaves, etc.
Note: You can buy ready coated cyanotype paper. Whilst it may be more convenient, the results aren’t nearly as impressive. There is so much creativity in the coating of the sensitizer.
Process
- Add water to the two bottles of sensitizer. Shake them and leave them to stand overnight. Don’t mix them together until just before you start printing.
- Before you start printing, mix together equal amounts of each chemical (note this only applies because the bottles come in the correct ratios for mixing).
- Find somewhere away from sunlight (we used a covered electric lamp in a dark room), paint the sensitizer onto the water colour paper with creative brush strokes. You want to work it into the paper so it doesn’t run when you pick it up.
- Let the paper dry thoroughly. We left it for about half an hour but longer wouldn’t hurt.
- Still in the dark, place objects onto the paper. Arrange these any way you like but I’ve found that it’s a bit like topping a pizza, the simpler the better.
- Place a perspex sheet on top of the objects to hold them in place and carry them out into the sun.
- Leave them out in the sun until they are ready. How long does that take? It depends a lot on cloud cover, strength of the sun, etc. For us it was about 25 minutes but the only way to find out is to try a few test images. Don’t rush, and err on the side of leaving it out there a little longer.
- When your print is ready, remove the perspex and the objects ready for washing.
- Wash the print in cold water for about 15 minutes. Fully submerse the paper in water and agitate. You want to get all the yellow pigment off. Your print will quickly turn blue through washing.
- Hang the paper to dry.
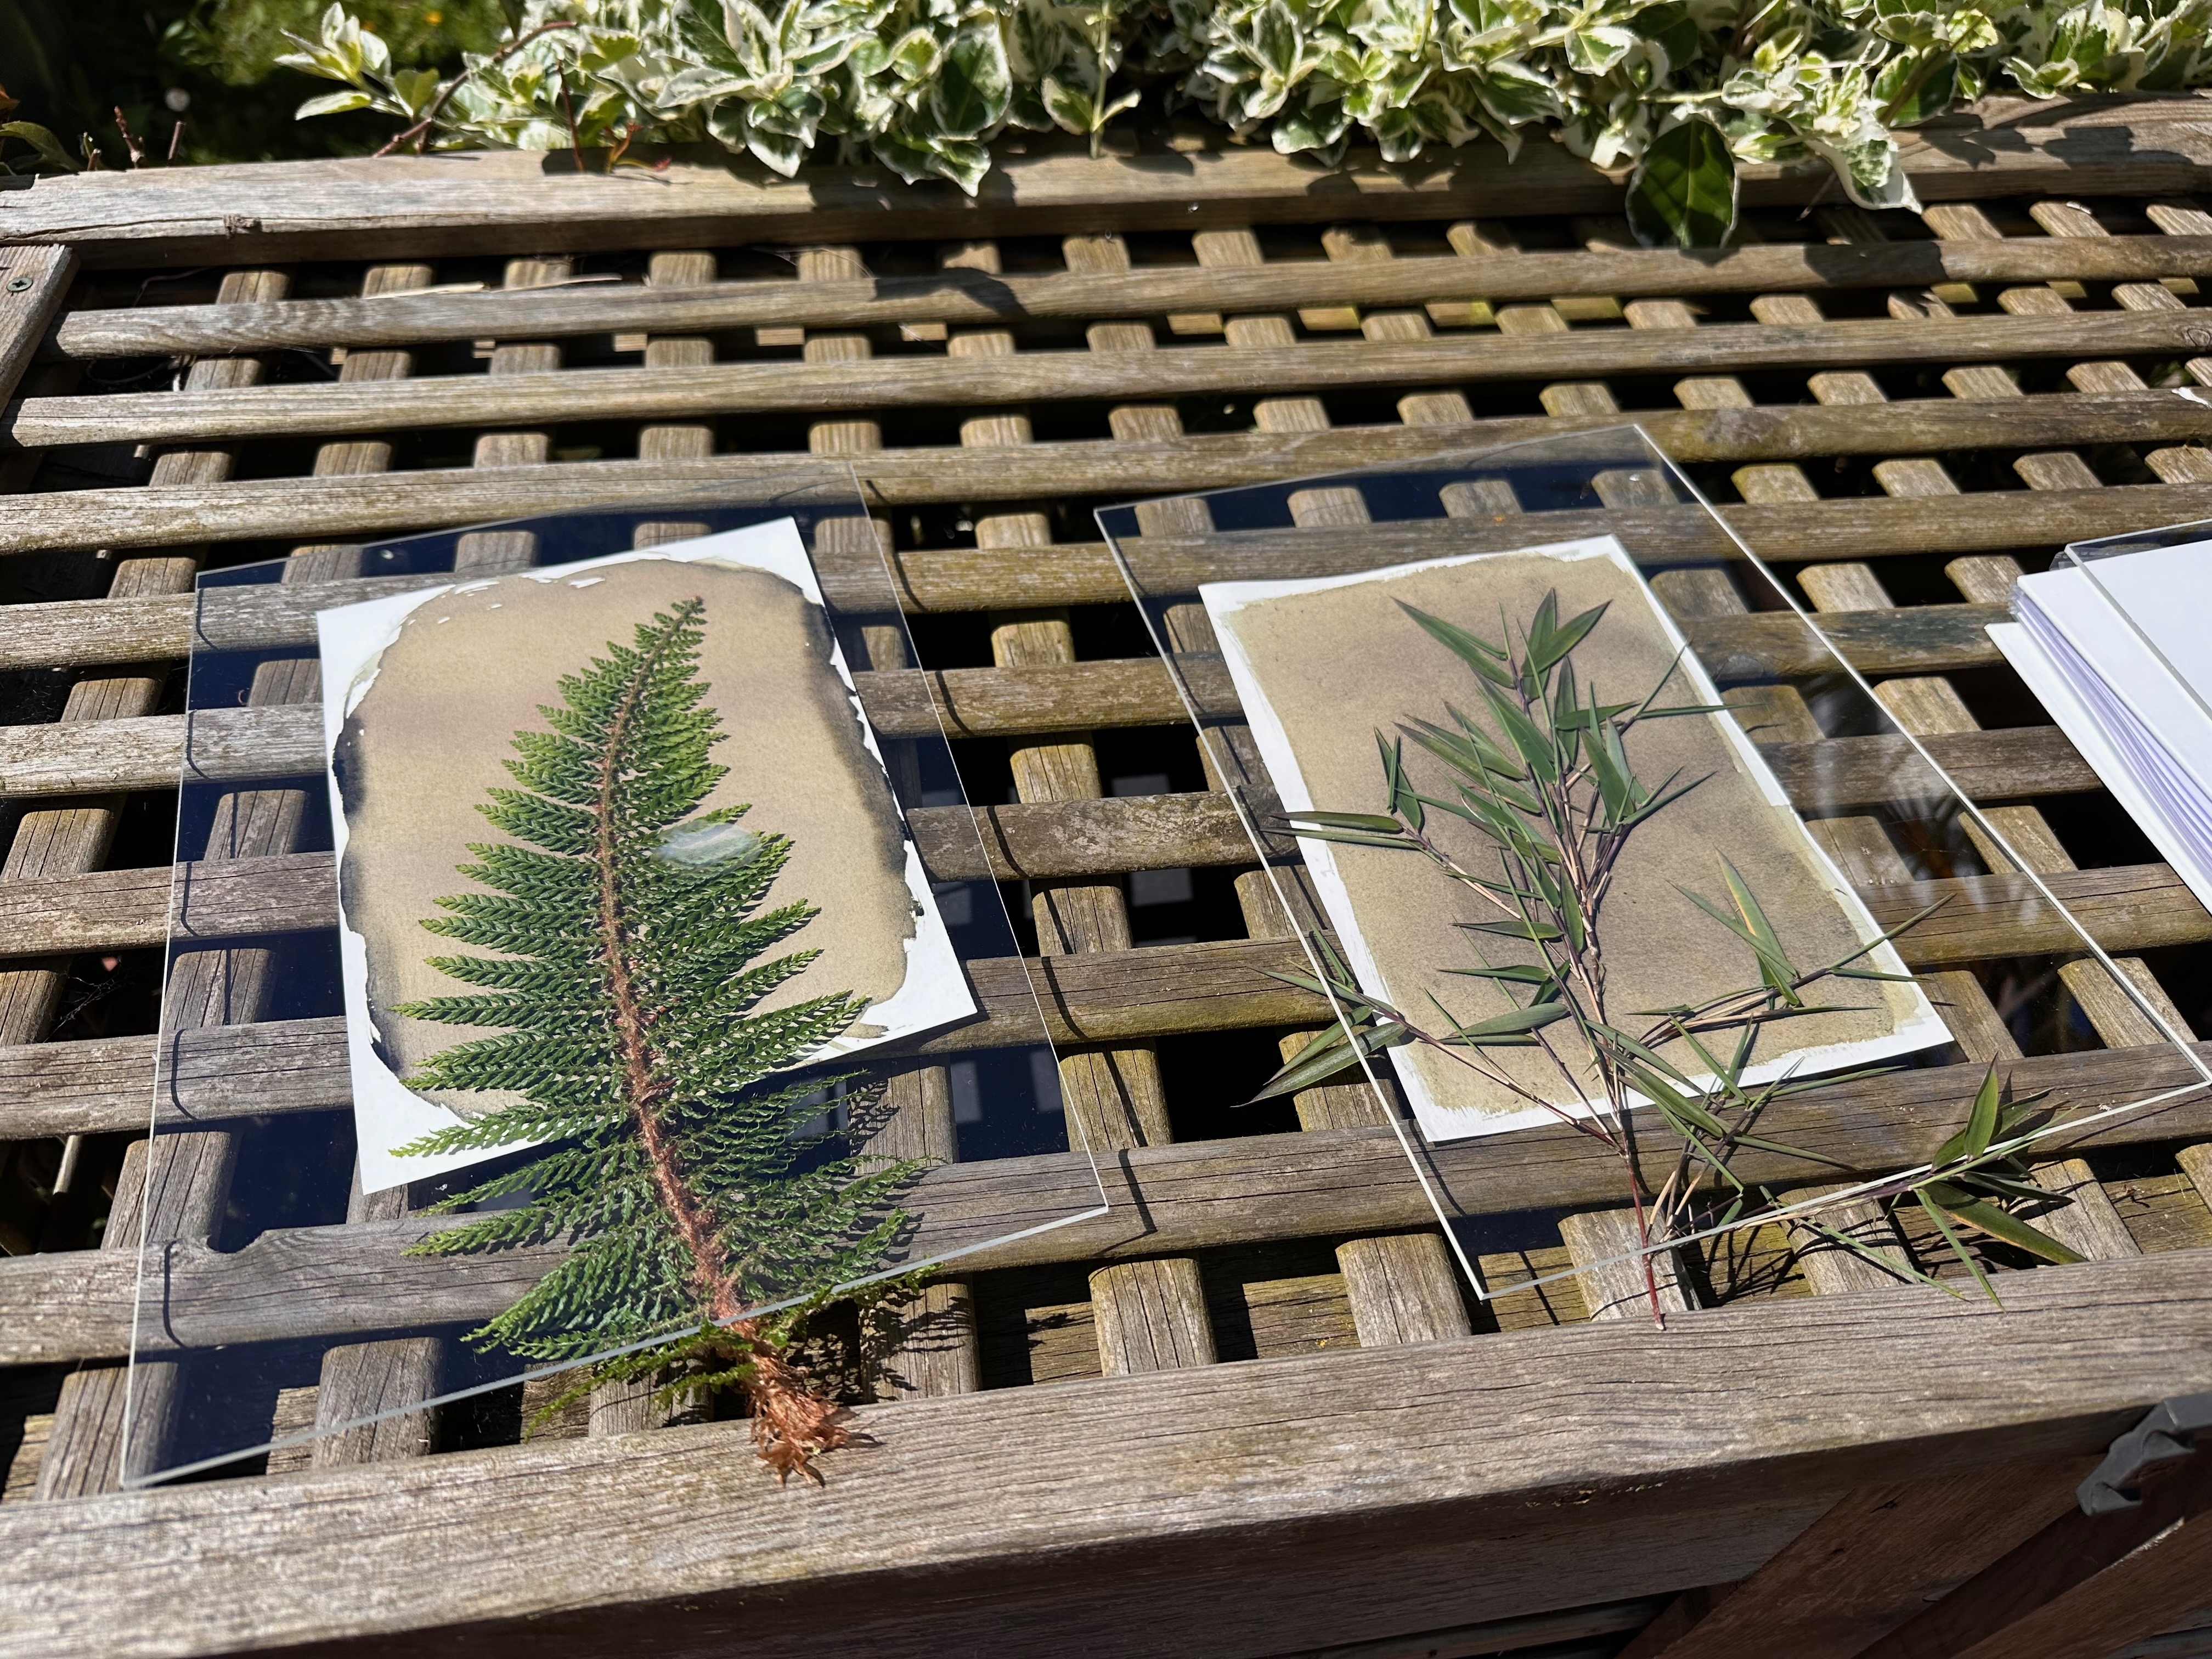
Various leaves resting on paper coated in sensitizer. A perspex sheet holds the leaves in place so they don’t move during development.
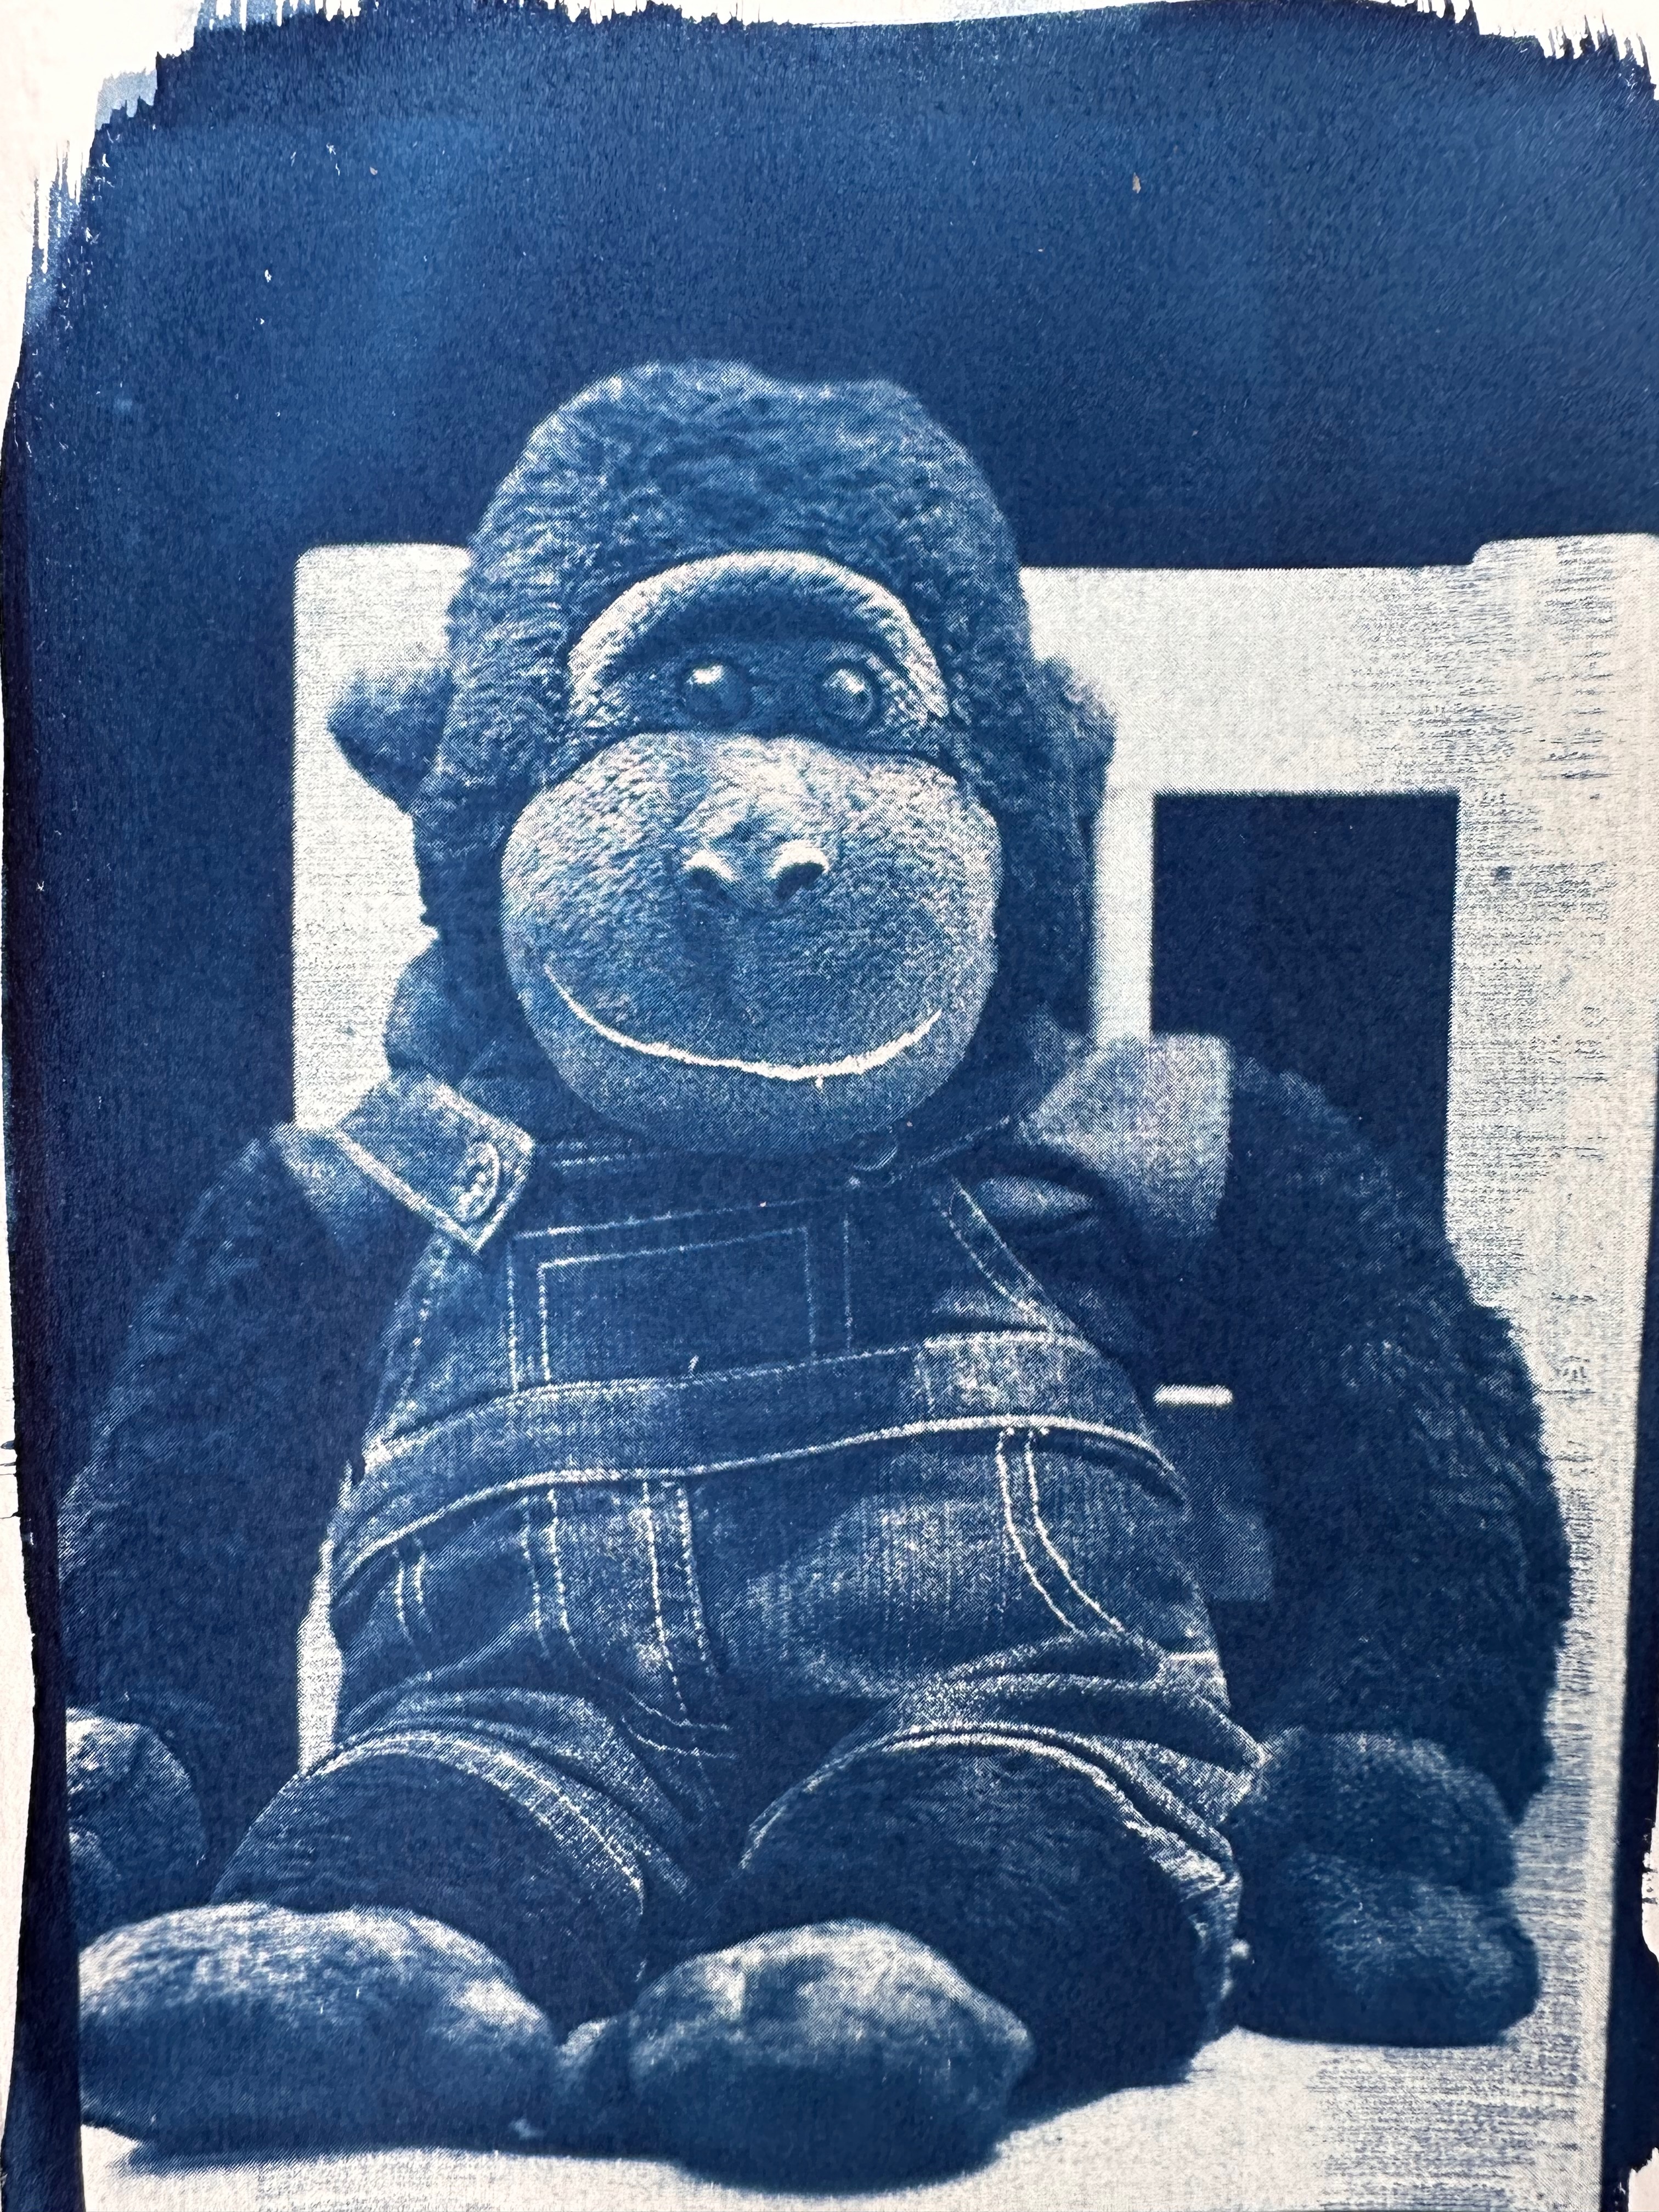
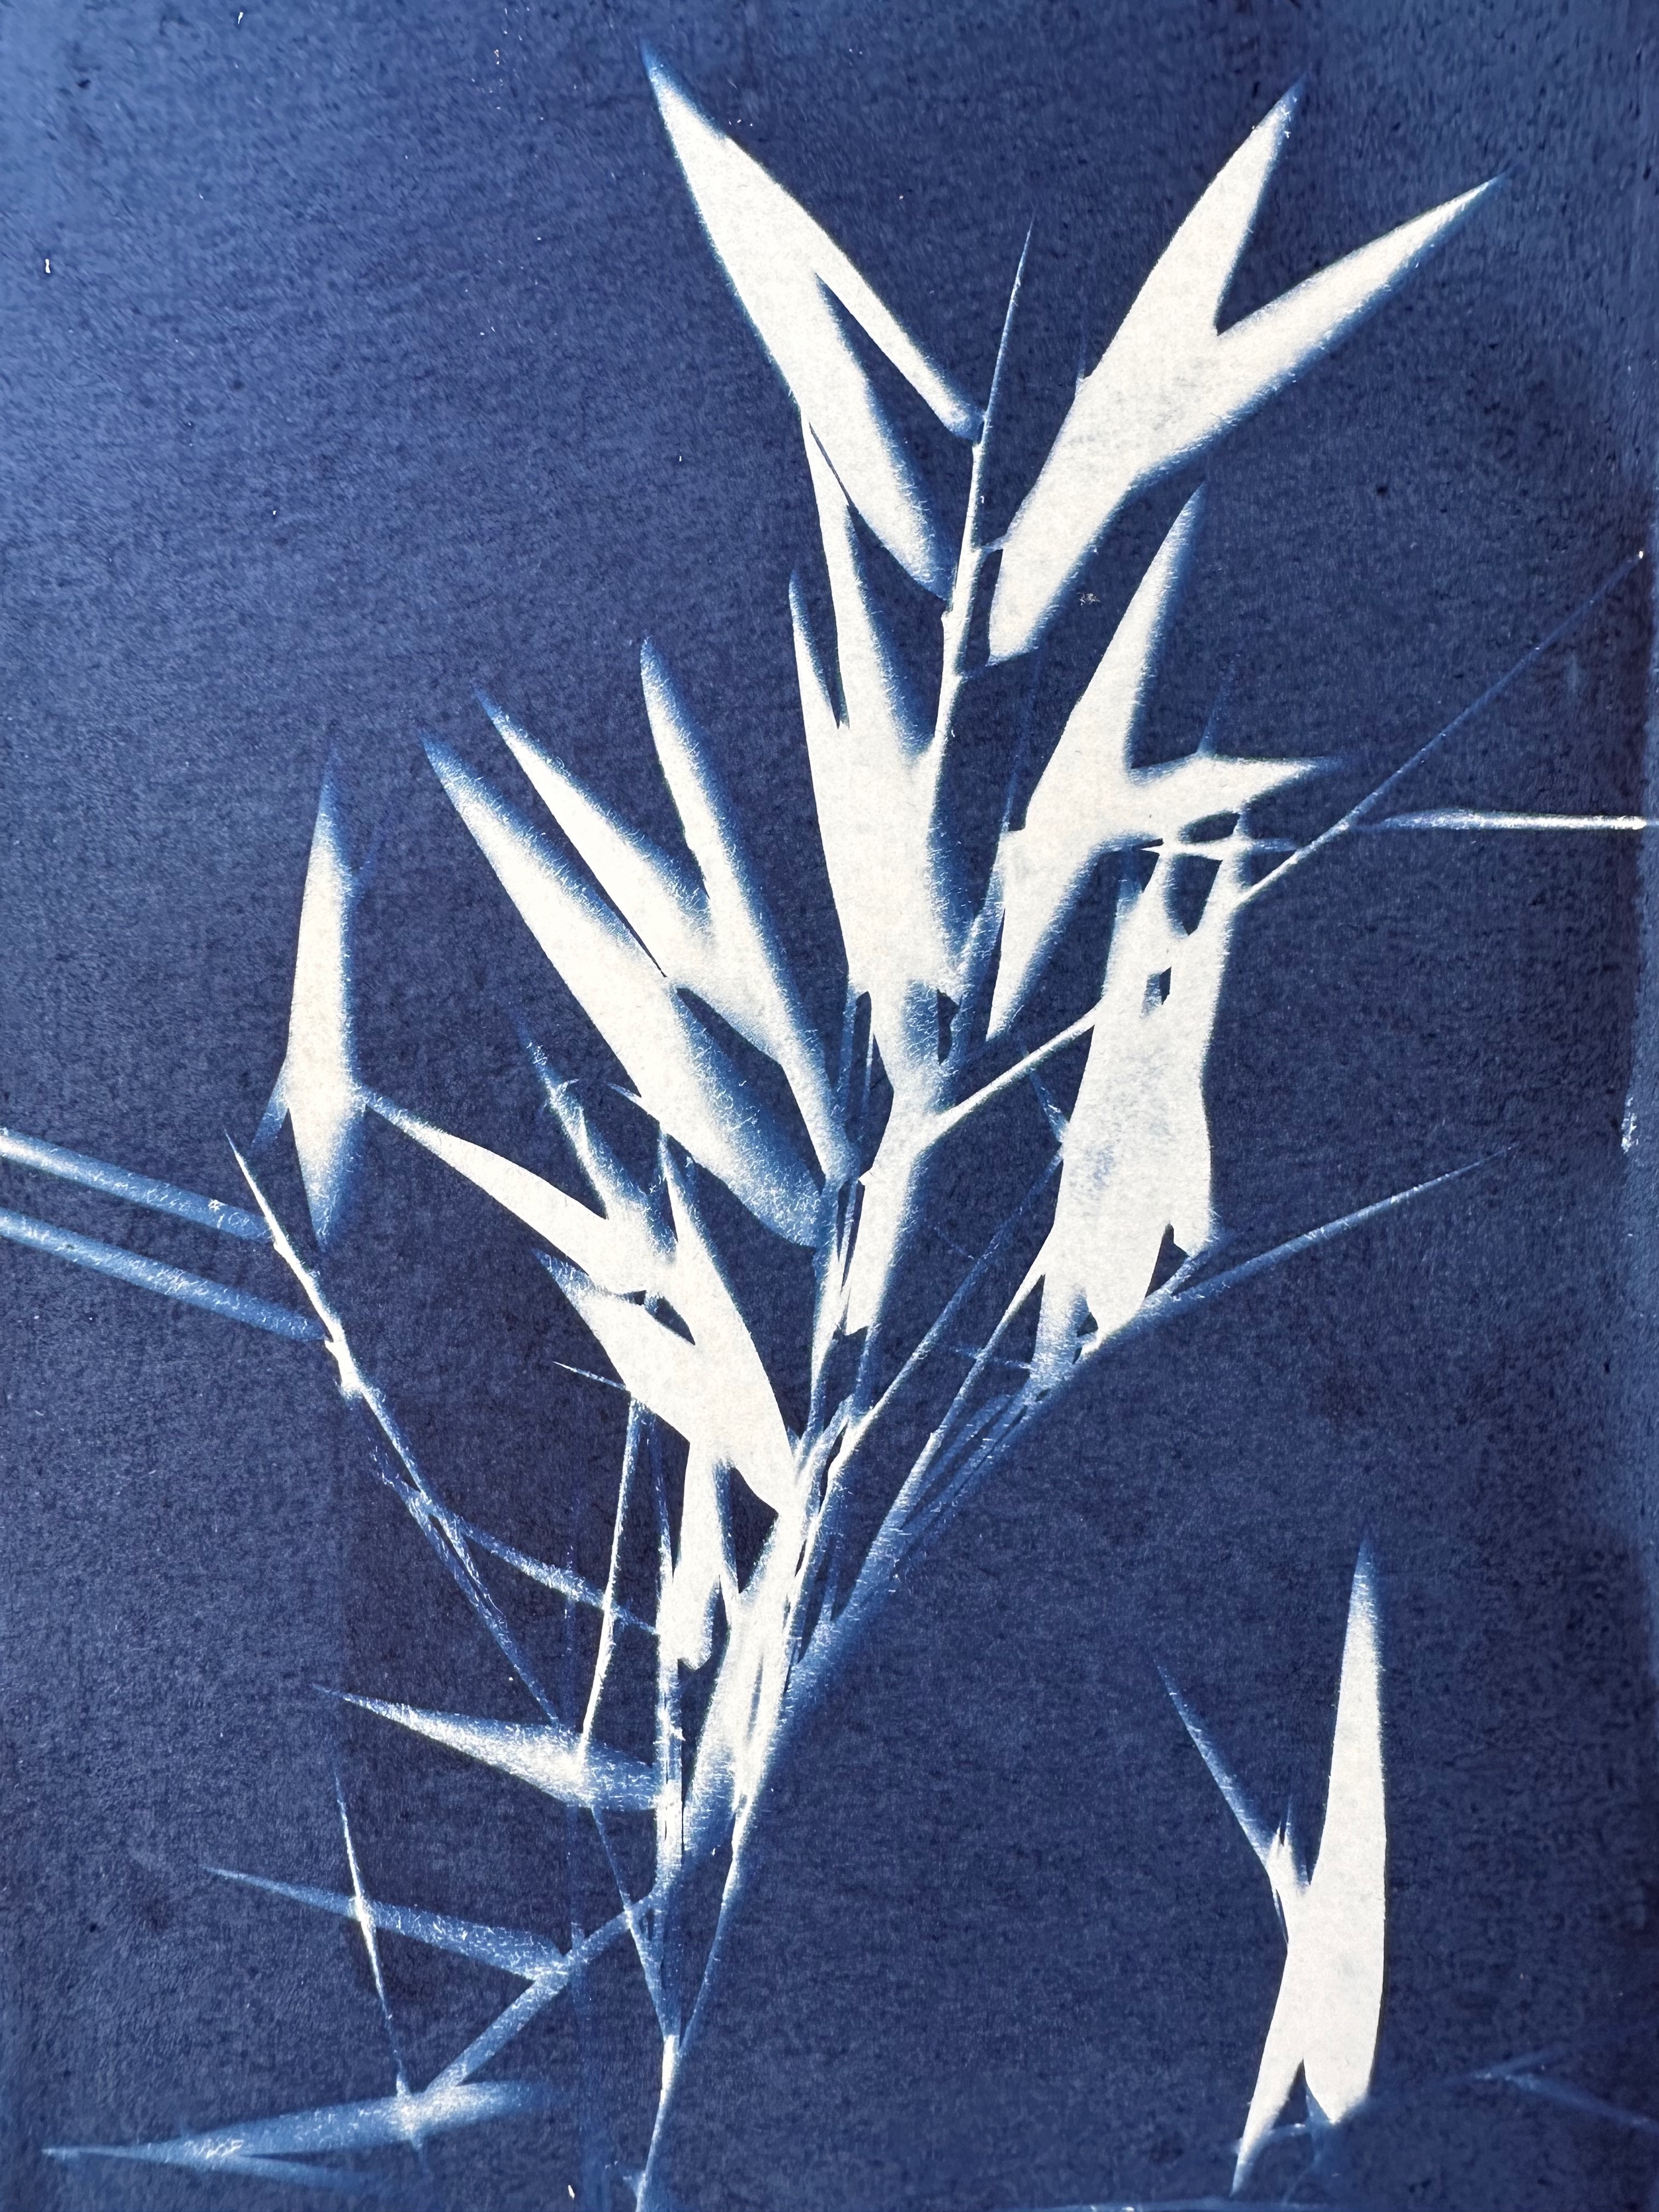
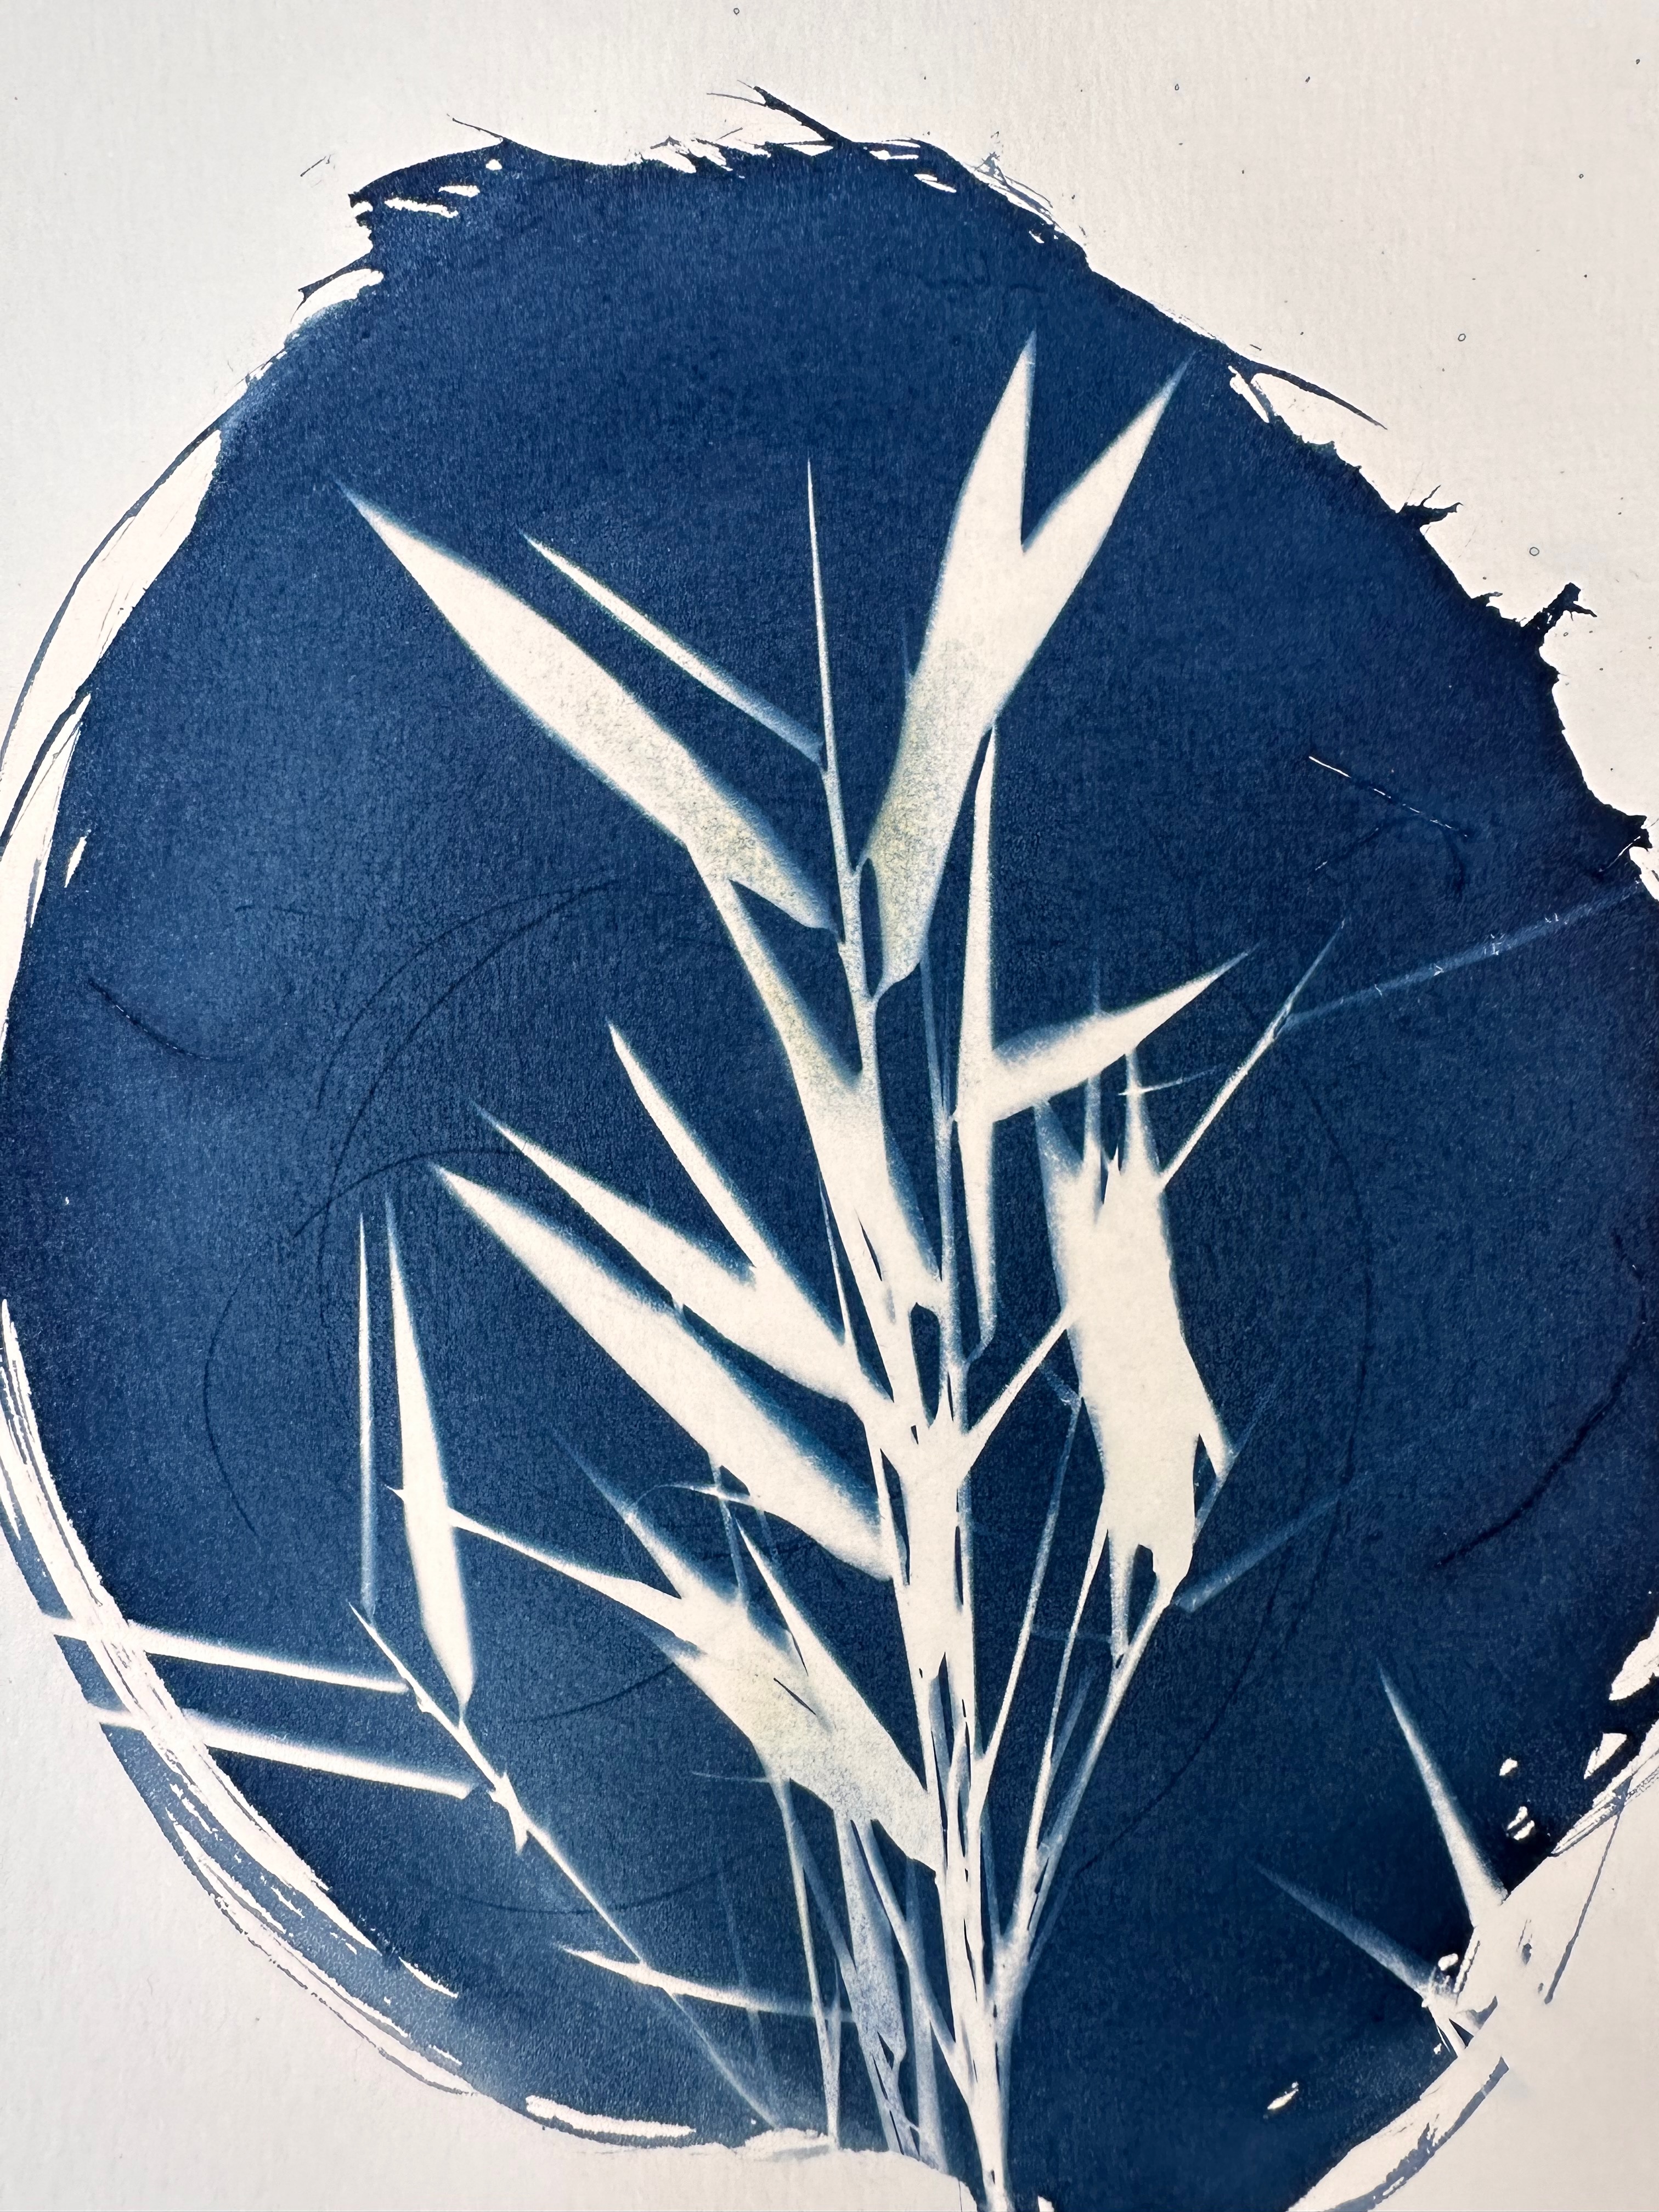
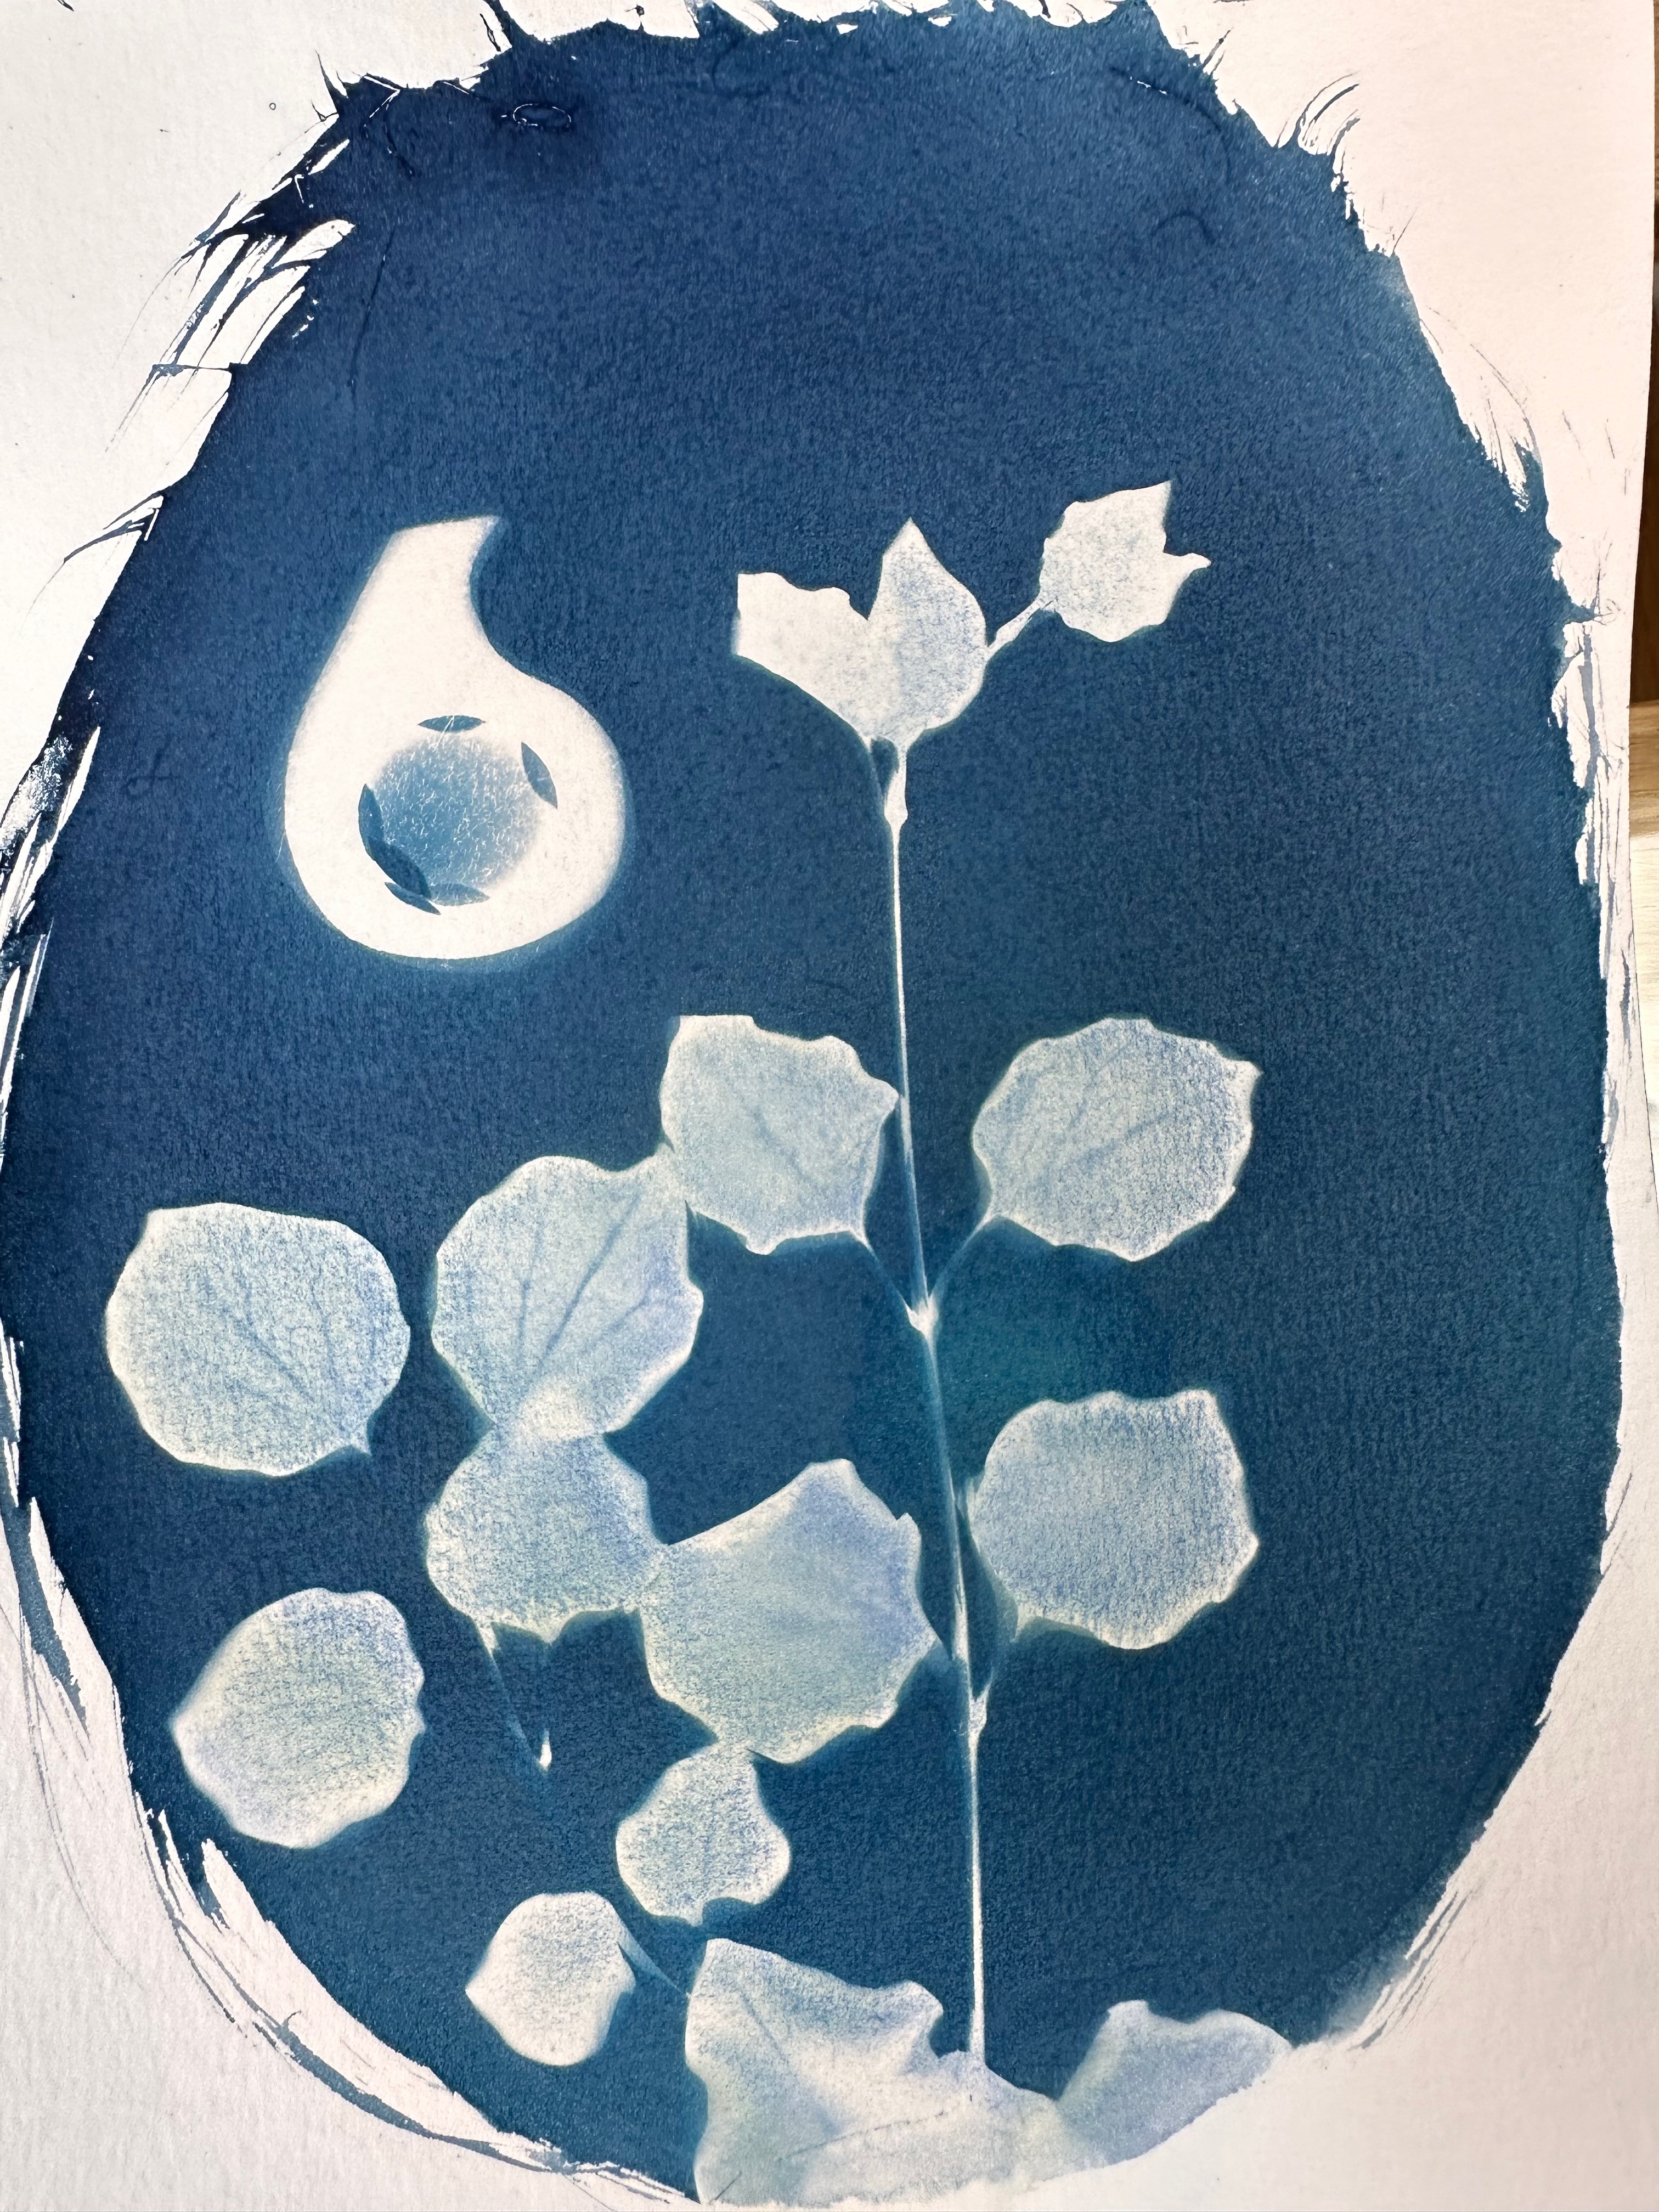
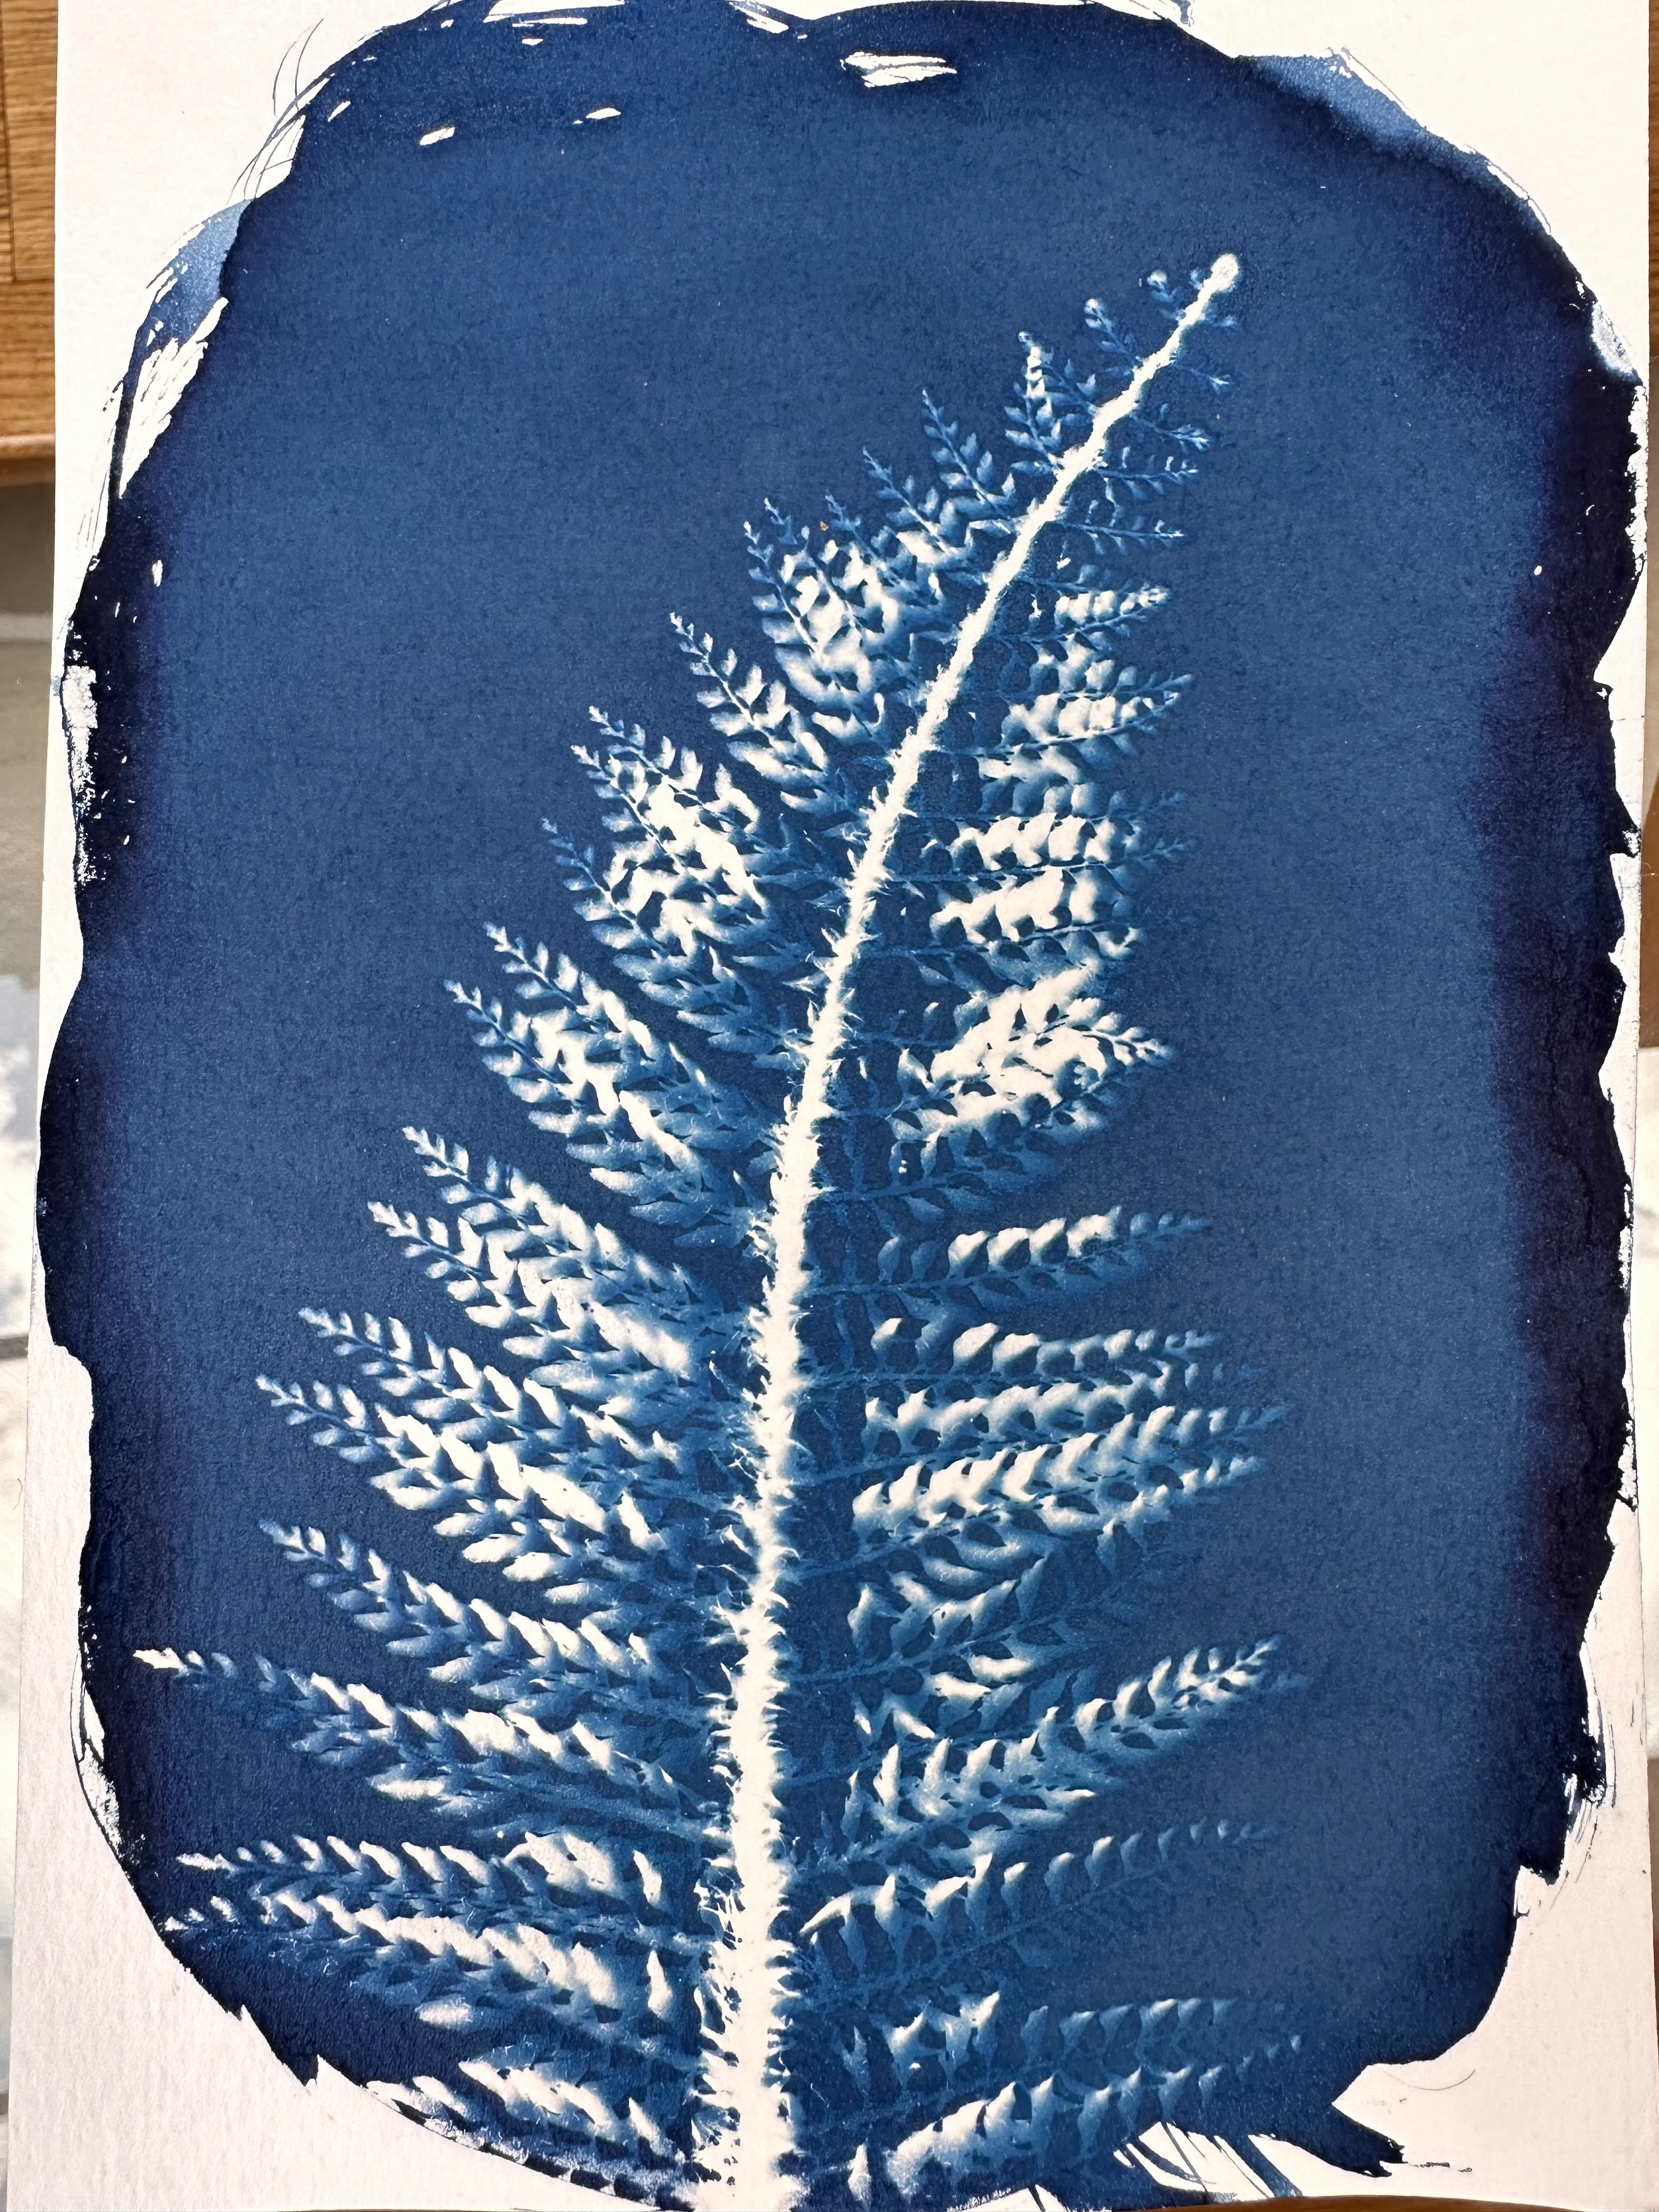
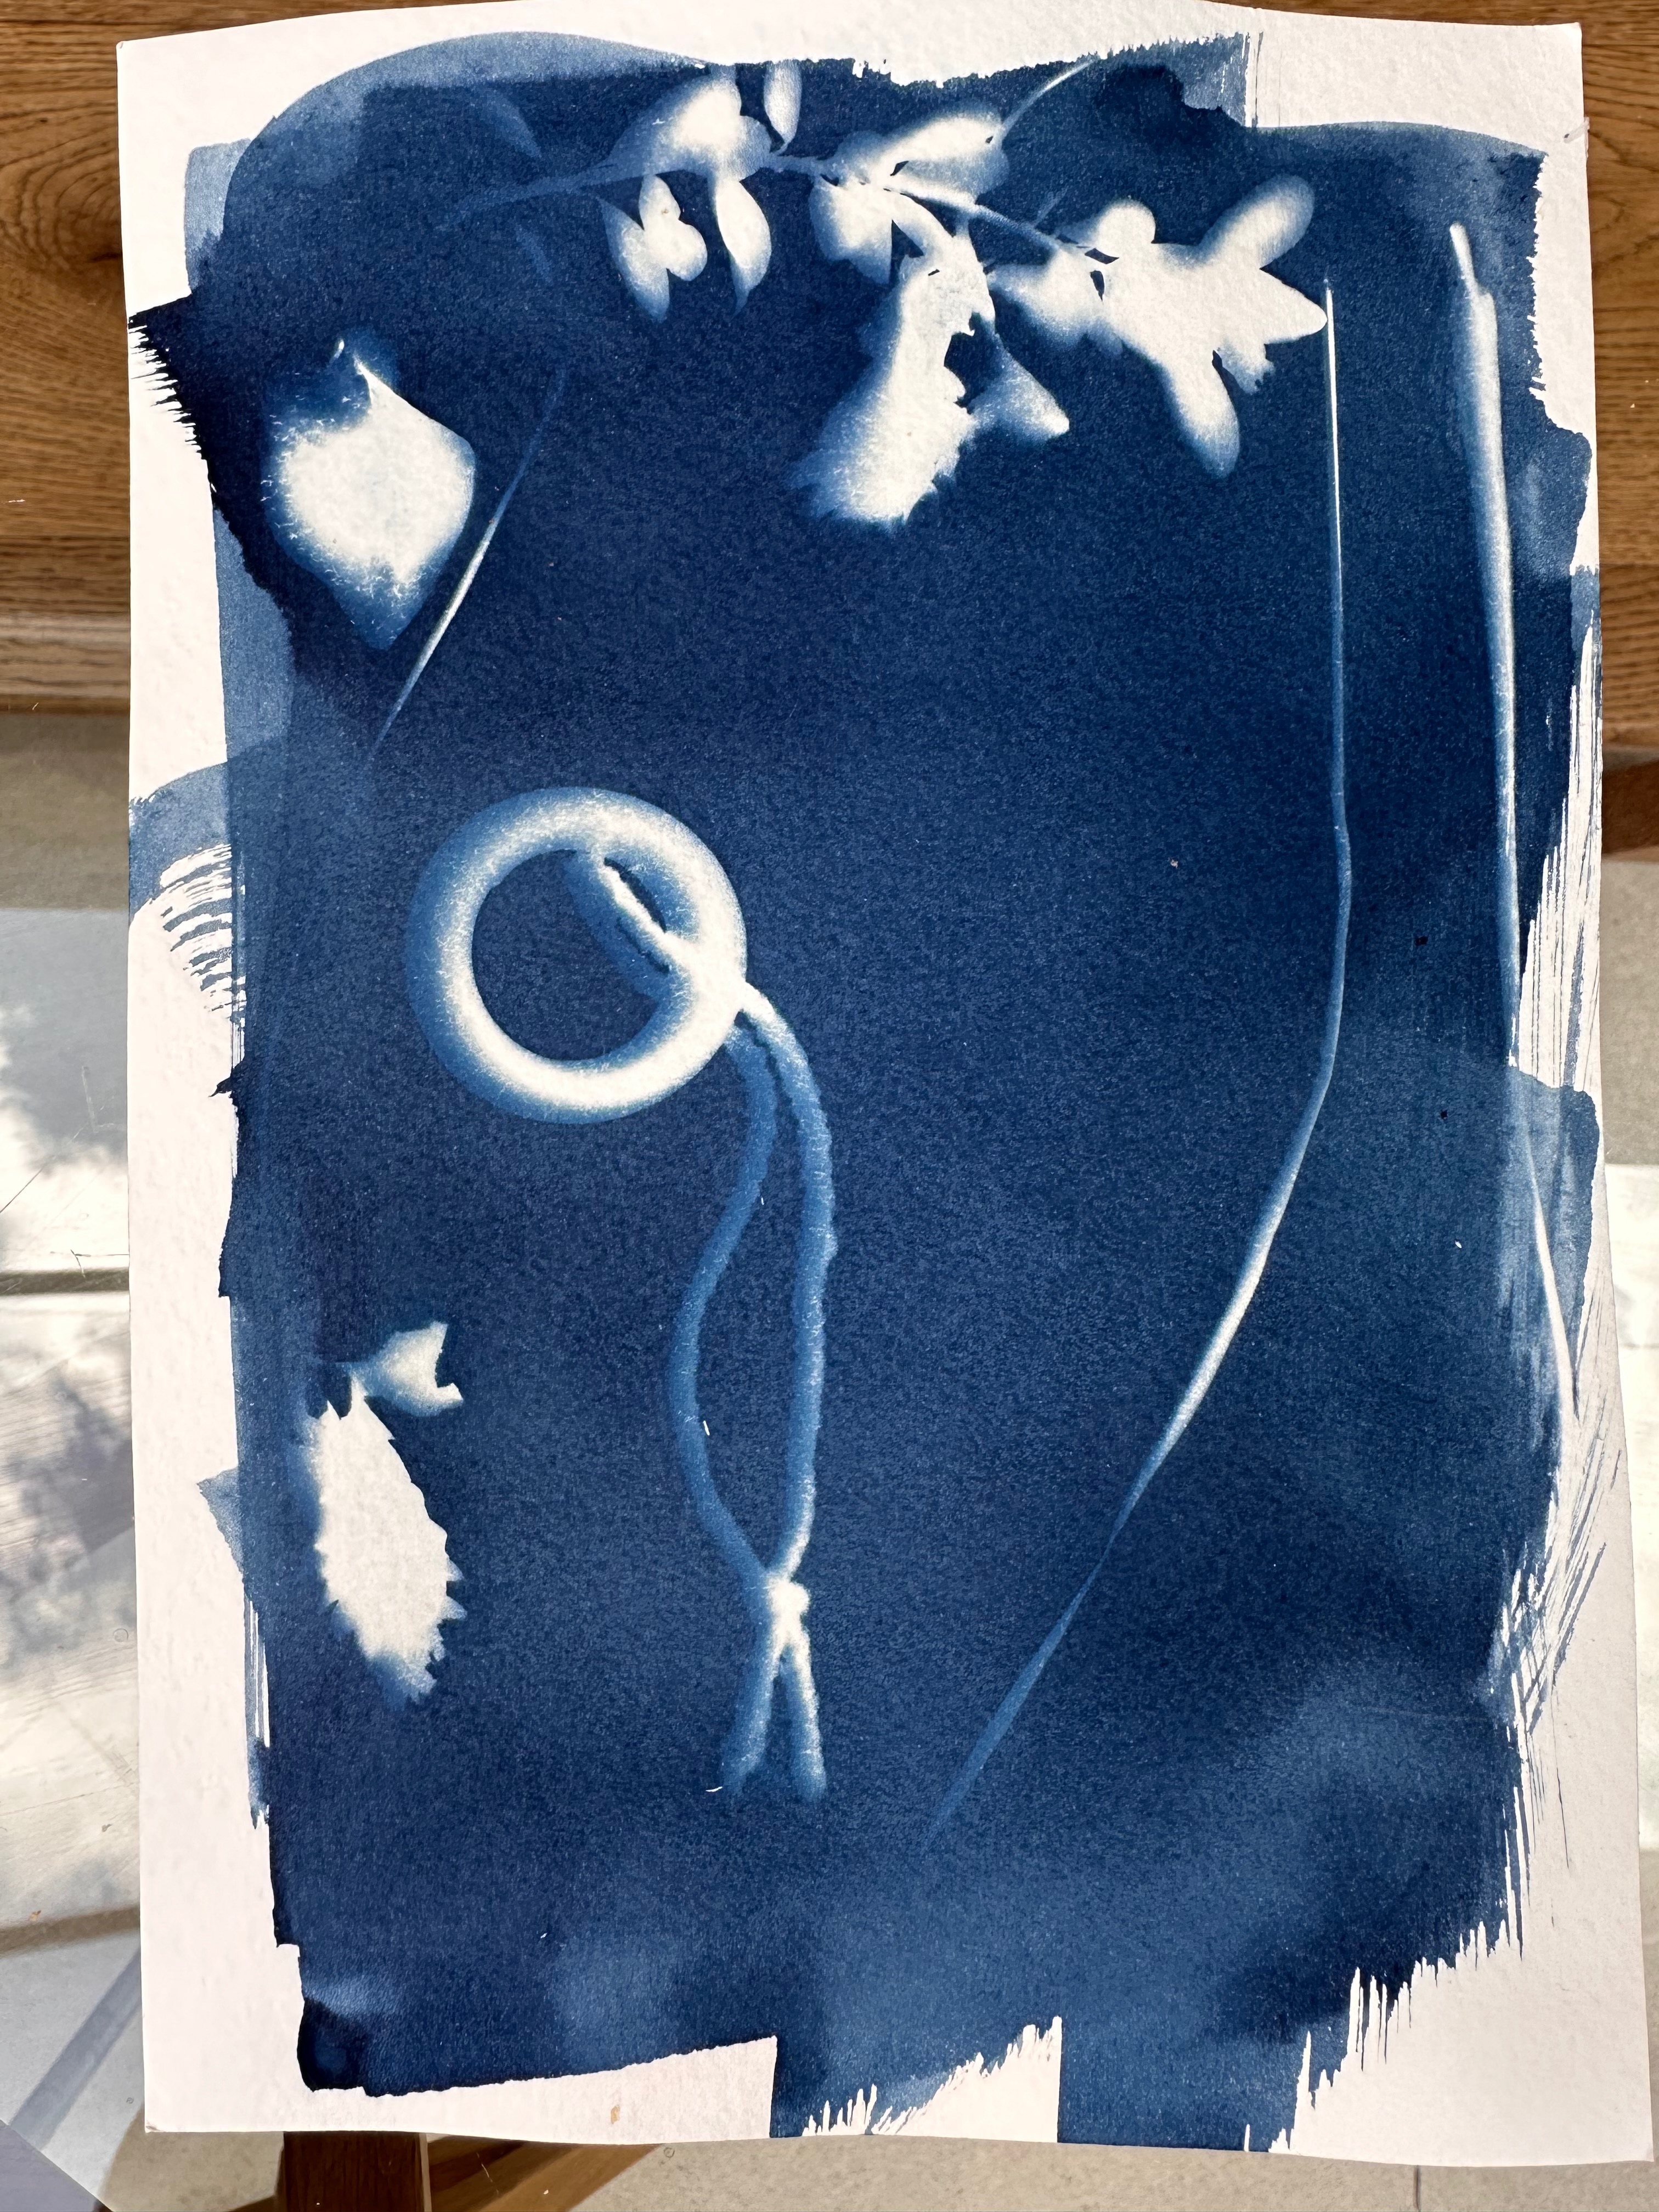
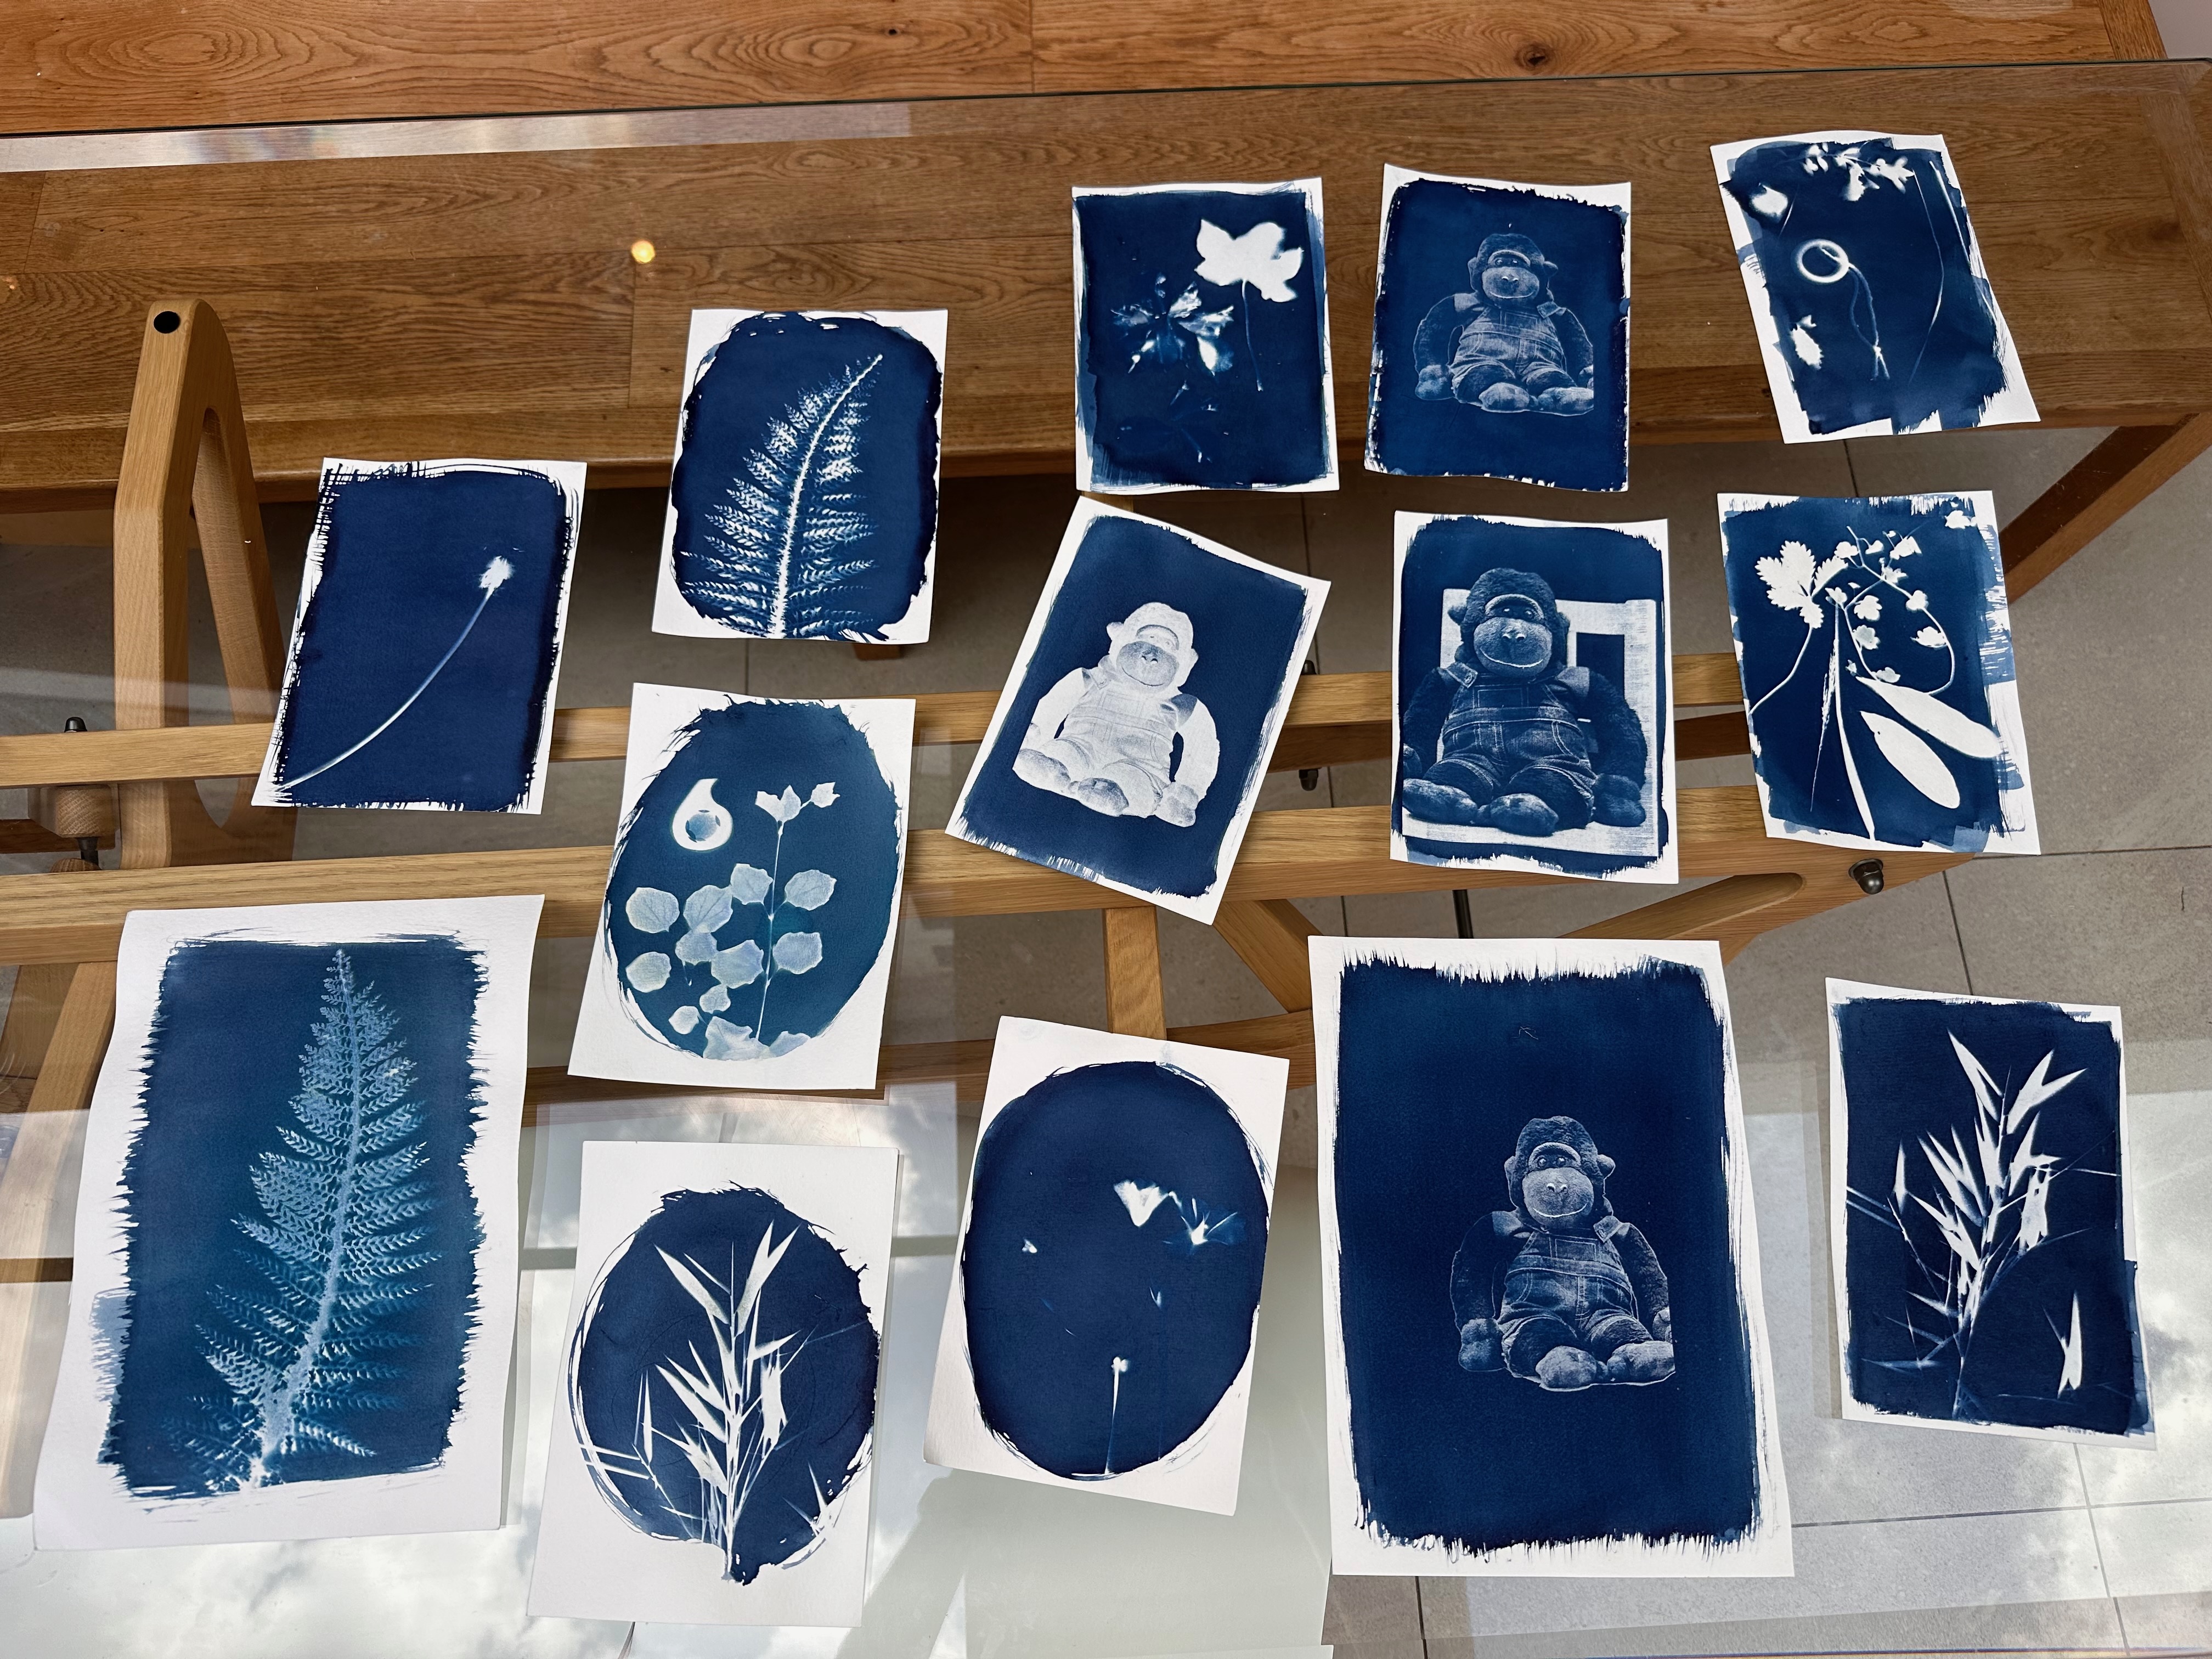
The Results
The images below are a collection of the prints we made as a family.